E-Commerce Shop Builder
Welcome to the E-Commerce Platform! Whether you’re launching a new store or migrating an existing one, this platform provides all the tools you need to create, manage, and grow a successful online business. This documentation will guide you through setup, configuration, and advanced features to maximize your store’s potential.
- Setting up & Configuring E-Commerce
- Online Store Management
- Managing Payment Methods in Your E-Commerce Store
- Connecting 3rd Party APIs in Your Online Store
Setting up & Configuring E-Commerce
1. Creating a Compelling Landing Topic
A strong landing topic is the cornerstone of your online store. Follow these steps to create a topic that engages visitors and drives conversions:
Menu
-
Navigate to the "Website Setup" section.
-
Choose a menu, then add the link and title.

Sliders and Banners
-
Upload high-quality images and videos.
-
Include a clear call-to-action (e.g., "Shop Now" or "Learn More").
-
Add middle topic banners as needed.


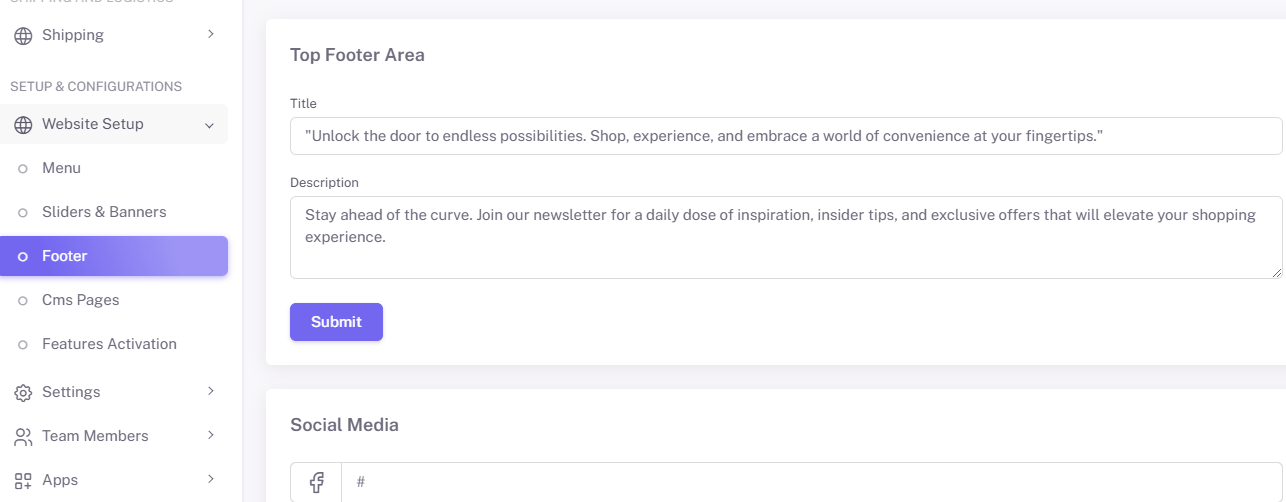
Footer
-
Add a footer title and description.
-
Include social media accounts (up to three widget links).

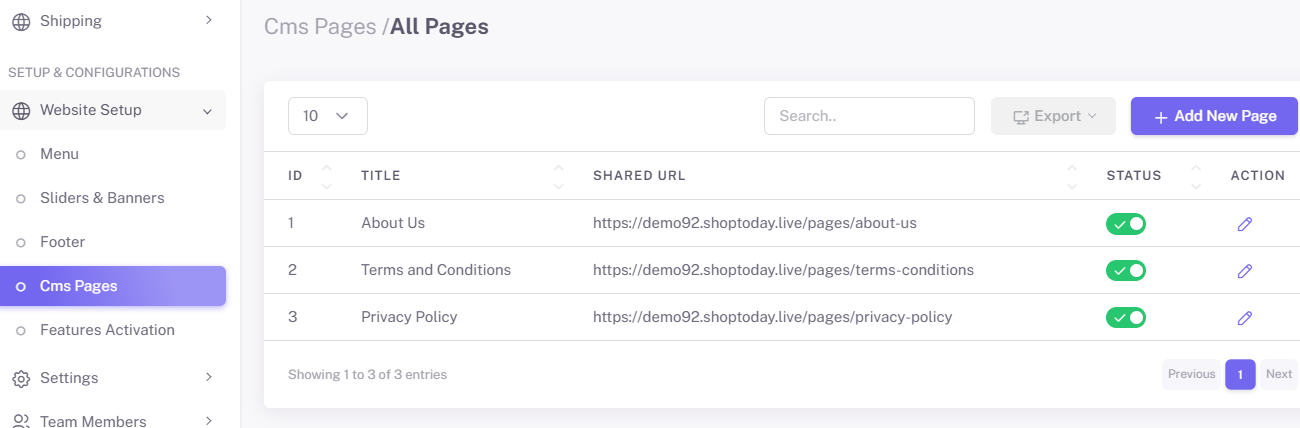
CMS Topics
-
Manage and add topics to provide detailed information about your store.

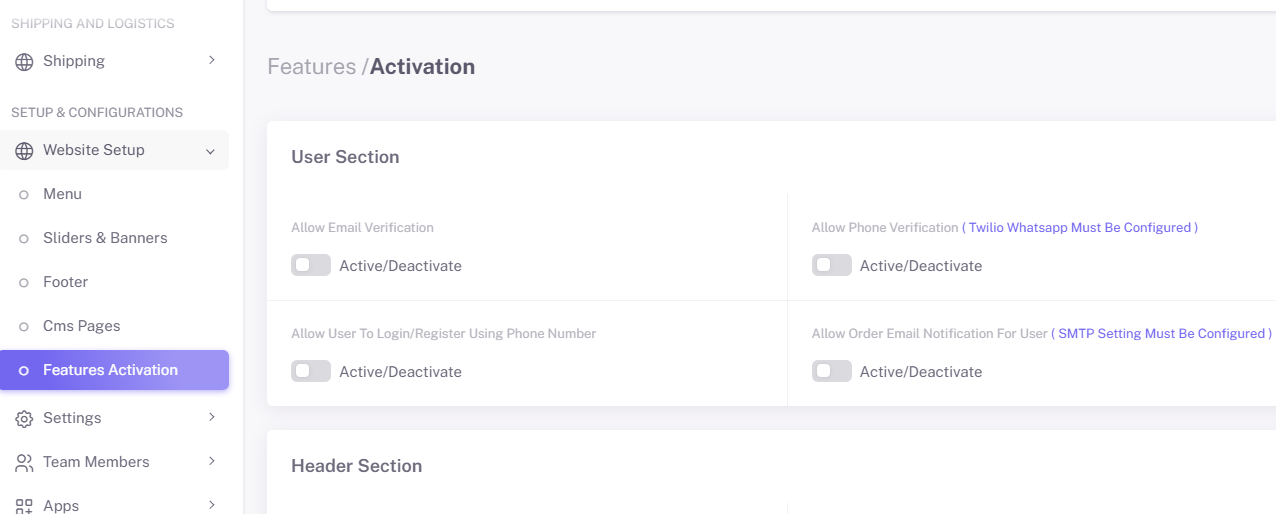
Features Activation
-
Select which features to activate for the user section, header section, and landing topic section.

2. Configuring System Settings
Proper system settings ensure your store operates smoothly. Here’s how to configure them:
Access System Settings
-
Go to the "Settings" menu from the dashboard under "Setup and Configuration".
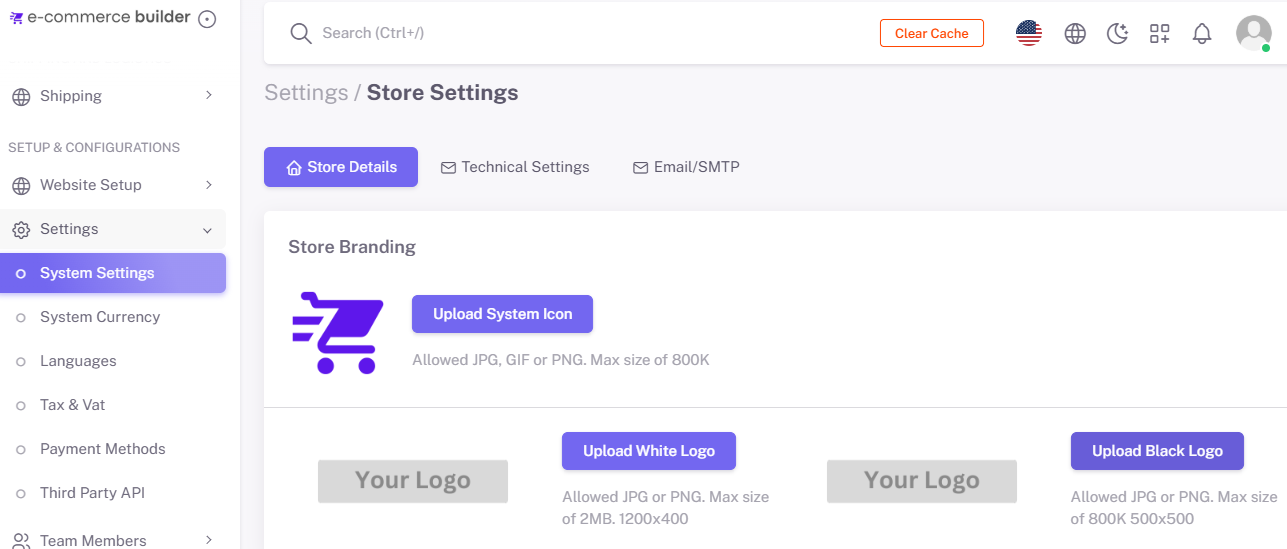
System Settings
-
Set your store details, including store name, logo, and favicon.
-
Define your business email and contact information under "System Details".


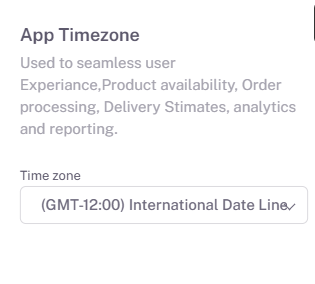
Regional Settings
-
Configure the default language and time zone under "App Timezone".

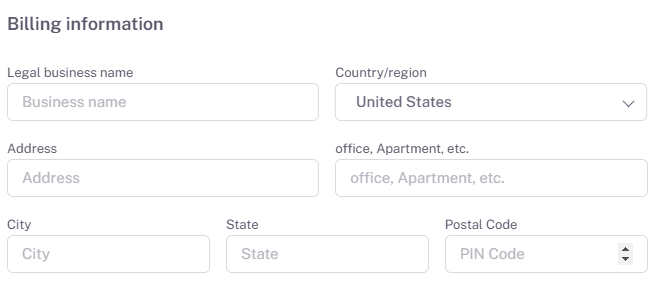
Billing Settings
-
Set up billing information under the "System Settings" tab.

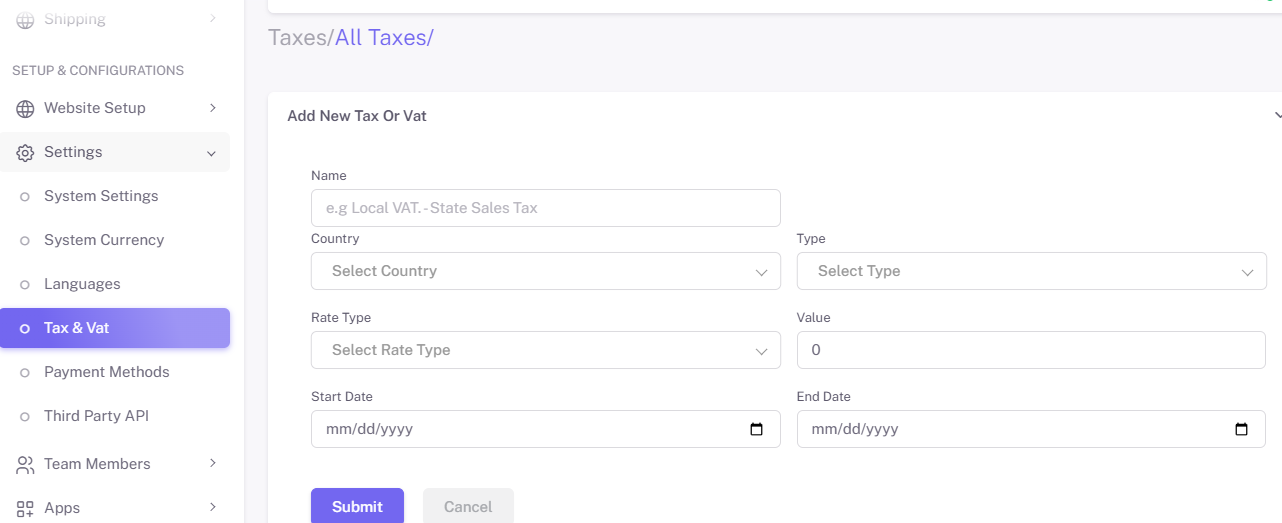
Tax Settings
-
Go to the "Tax & VAT" tab under the "Setup and Configuration" section.
-
Enable tax calculations and define regional tax rates.

Pro Tip: Regularly review and update settings to ensure they reflect current business needs.
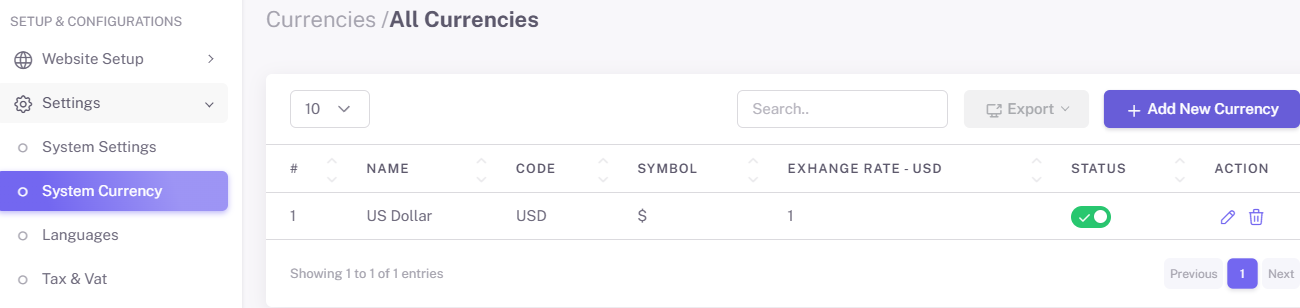
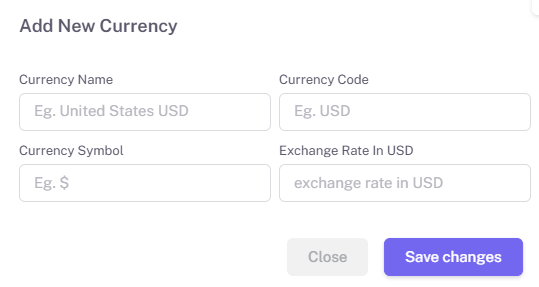
3. Setting Up System Currencies
Offering multi-currency options can expand your global reach. Here’s how to set up system currencies:
-
Navigate to "Setup and Configuration" -> "Settings" -> "System Currencies" tab.

-
Select supported currencies from the list.
-
Set the exchange rate manually or enable automatic updates.
-
Define a default currency for your store.
-
Choose display options, such as showing currency symbols and separators (e.g., $1,000 vs. 1000 USD).

Pro Tip: Use a reliable currency API for real-time exchange rate updates.
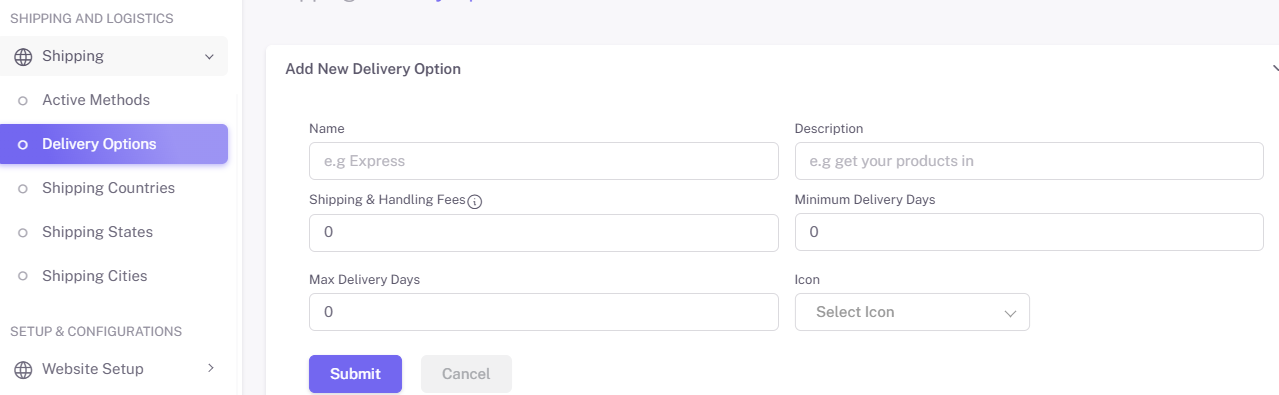
4. Managing Shipping Options
Streamlined shipping management ensures timely delivery and a positive customer experience.
First Visit to the Shipping Settings
-
Go to the "Shipping" tab under the "Shipping and Logistics" section.
-
Choose active methods, delivery options, shipping countries, states, and cities.
Set Up Shipping Zones
-
Define regions or countries you’ll ship to.
-
Assign shipping rates to each zone.
Configure Shipping Methods
-
Enable flat-rate, free shipping, or dynamic shipping options based on weight or cart value.
-
Integrate with carriers like FedEx, UPS, or DHL for real-time rates.
Enable Tracking
-
Provide tracking numbers to customers via automated emails.

Pro Tip: Offer free shipping for orders above a specific value to encourage larger purchases.
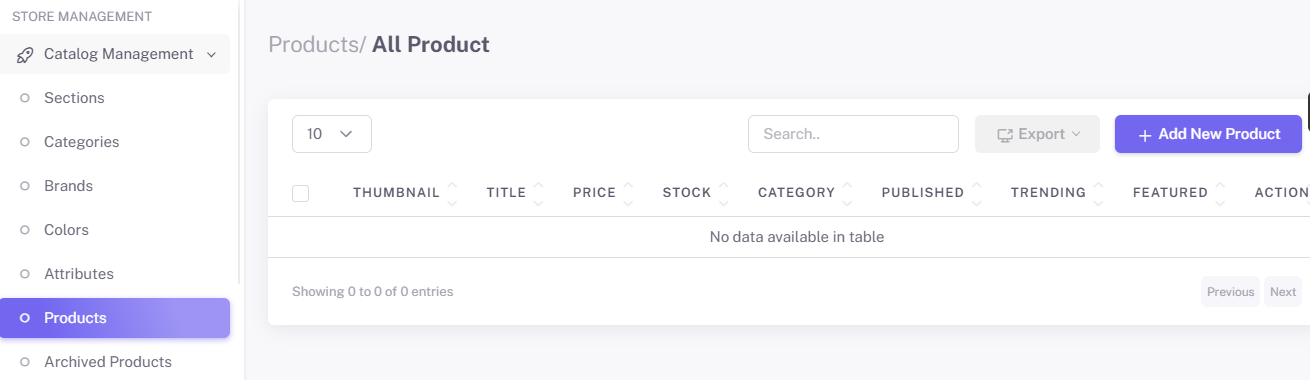
5. Managing Your Online Store
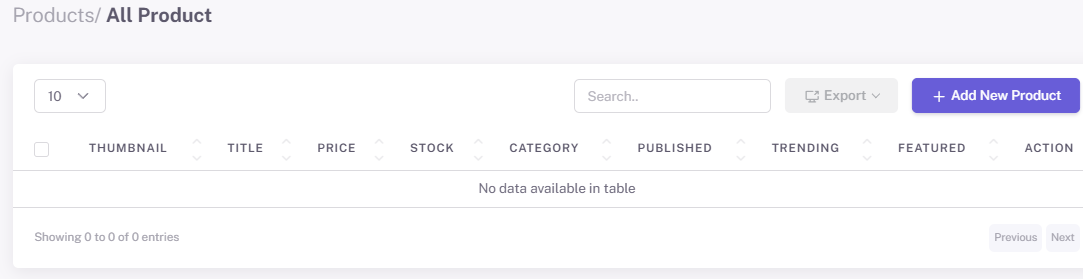
Product Catalog Management
-
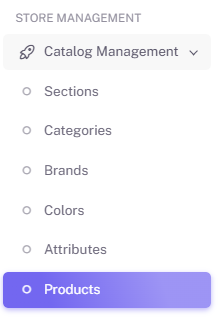
Manage products under the "Store Management" section in the dashboard.
-
Navigate to "Catalog Management" -> "Products".
-
Enter product details, including name, description, price, and SKU.
-
Upload high-resolution images.


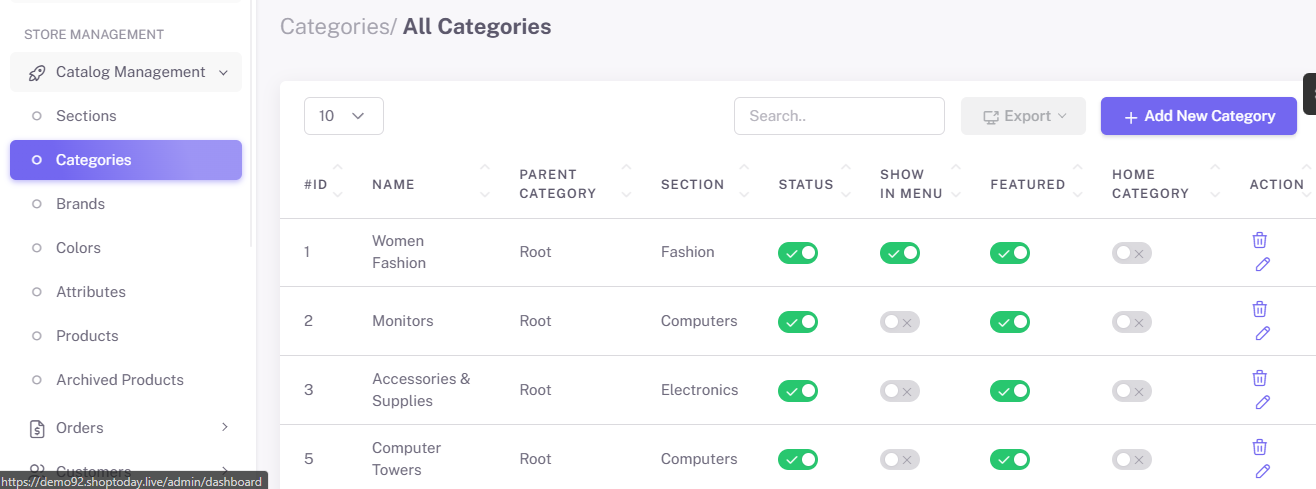
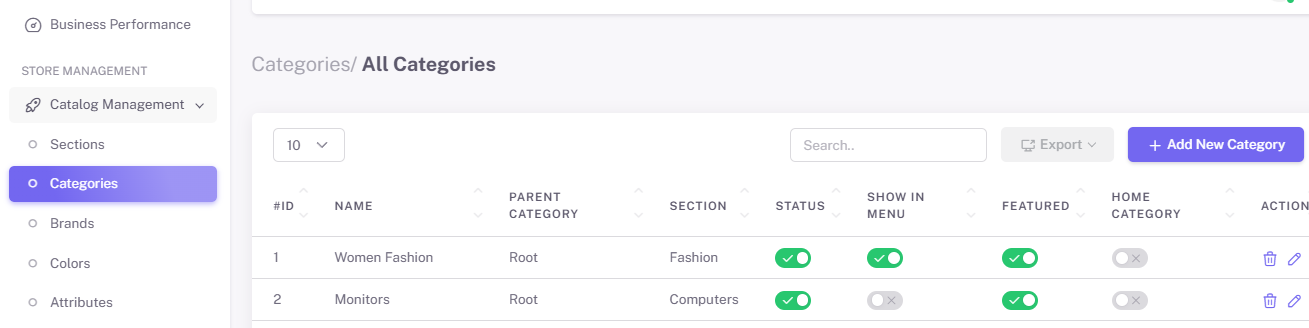
Organize Products
-
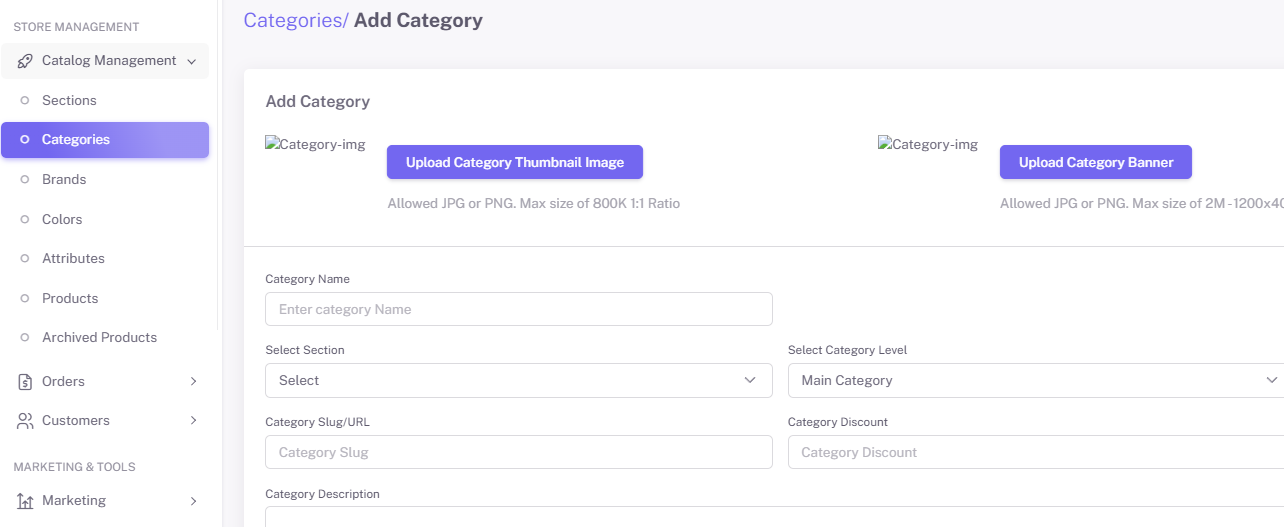
Go to "Catalog Management" -> "Categories".
-
Create categories and tags for easier navigation.

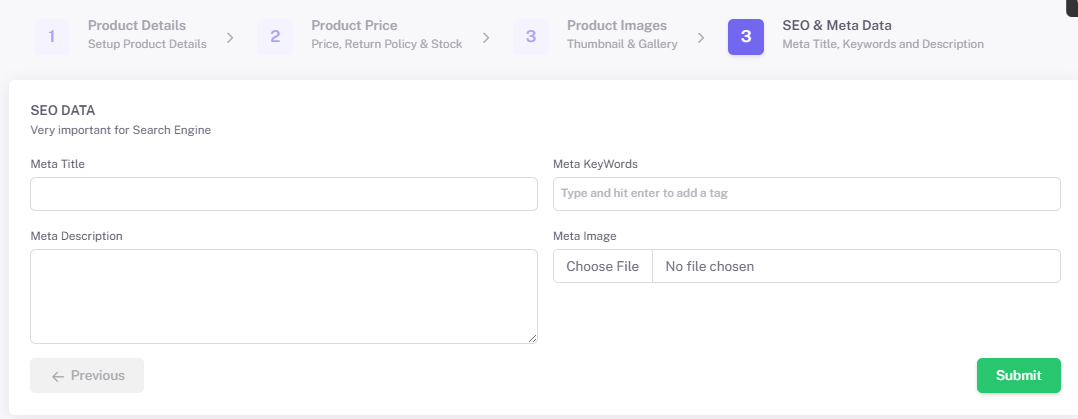
Optimize for SEO
-
Add meta titles and descriptions for each product.
-
Use keywords relevant to your niche to improve search engine visibility.


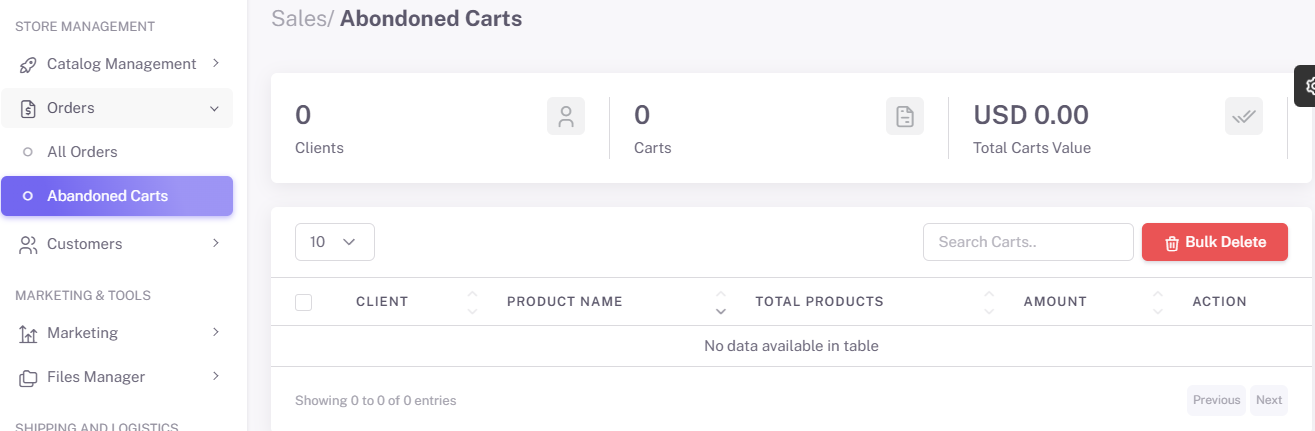
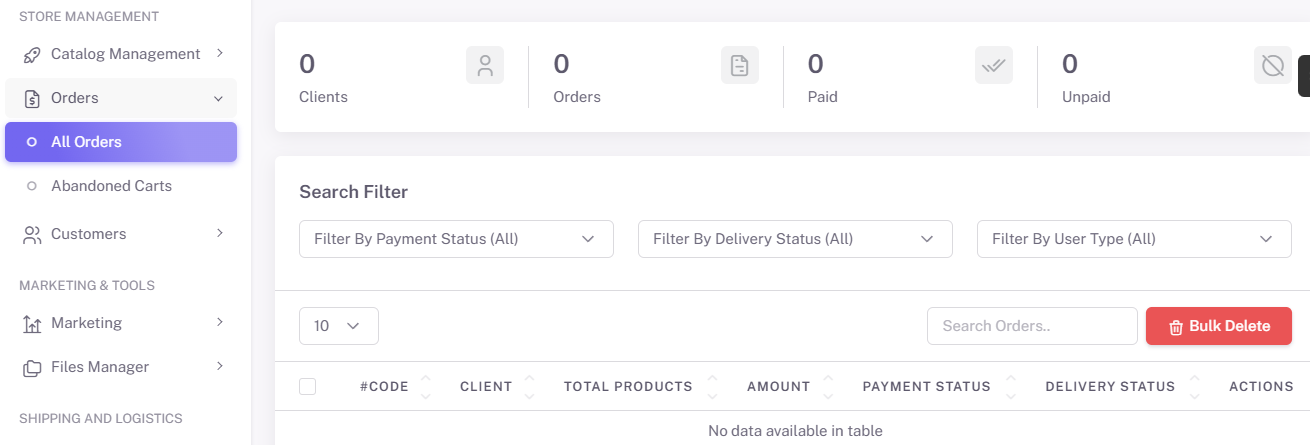
Order Processing
-
View and manage orders from the "Orders" dashboard under "Store Management".
-
Generate invoices and packing slips with one click.
-
Update order status (e.g., Processing, Shipped, Completed).
-
Manage abandoned carts to recover lost sales.


6. Advanced Features
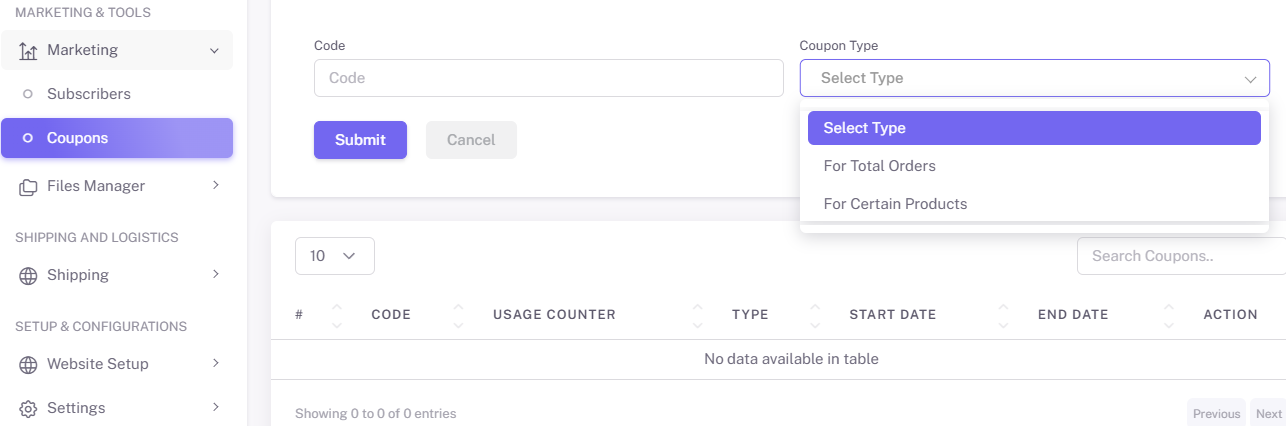
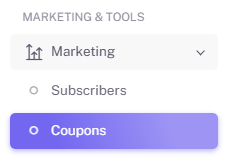
Promotions
-
Find "Coupons" under "Marketing Tools" -> "Marketing".
-
Create discount codes for seasonal sales or special promotions.
-
Set conditions such as minimum order value or applicable categories.
-
Create coupons for specific products or total cart value.

Payment Gateway Integration
-
Navigate to "Setup and Configuration" -> "Settings" -> "Payment Methods".
-
Connect your store with payment processors like Stripe, PayPal, or Square.
-
Enable multiple payment methods, including credit cards and digital wallets.


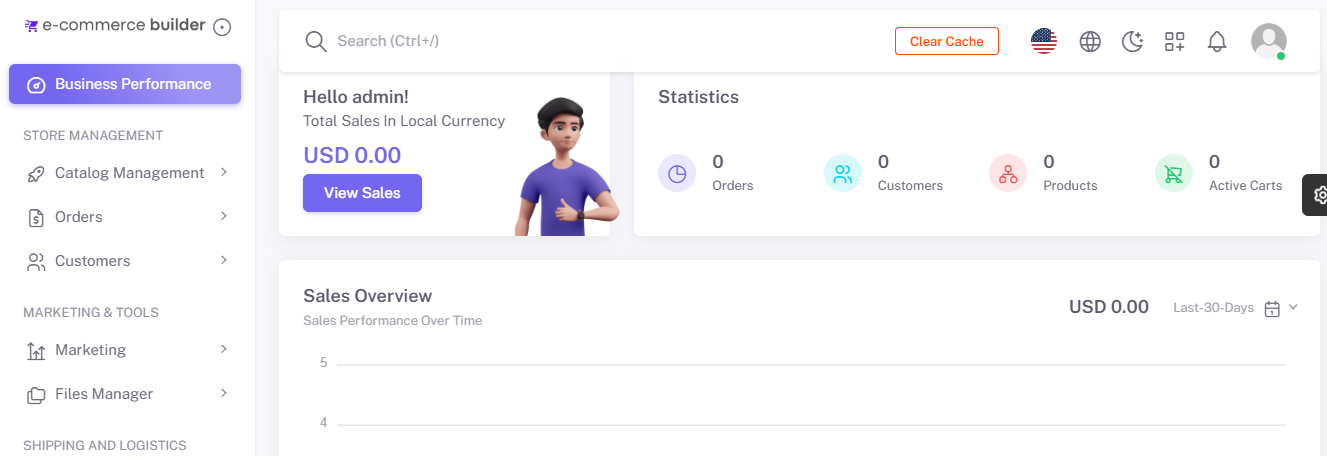
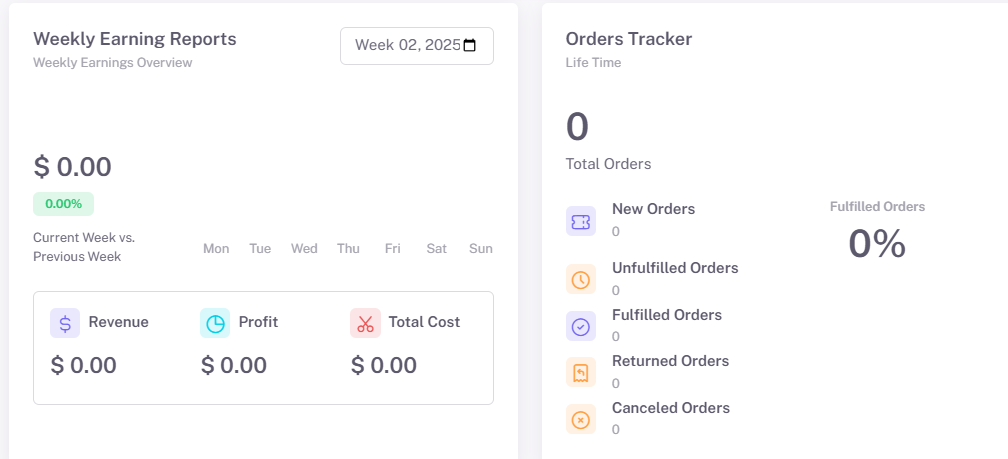
Reporting and Analytics
-
Under "Business Performance", access detailed reports on:
-
Sales performance
-
Earning reports
-
Product popularity
-
-
Use insights to refine your marketing and sales strategies.


7. Support and Troubleshooting
-
Access a dedicated support portal for technical assistance.
-
Browse the FAQ section for solutions to common issues.
-
Submit tickets for advanced troubleshooting.
Online Store Management
Welcome to your E-Commerce Shop Builder! This guide will help you as a seller manage every aspect of your store — from products and categories to orders and promotions.
1. Managing the Product Catalog
Setting Up Your Catalog
A well-organized product catalog is crucial for showcasing products effectively. Here’s how to set it up:
-
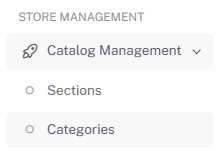
Navigate to the Catalog Setup:
-
Go to the "Store Management" section of the dashboard and select "Catalog Management."

-
-
Create Categories:
-
Add categories to organize products by type, season, or any custom grouping.
-
Example: "Men’s Apparel," "Electronics," or "Sale Items."

-
-
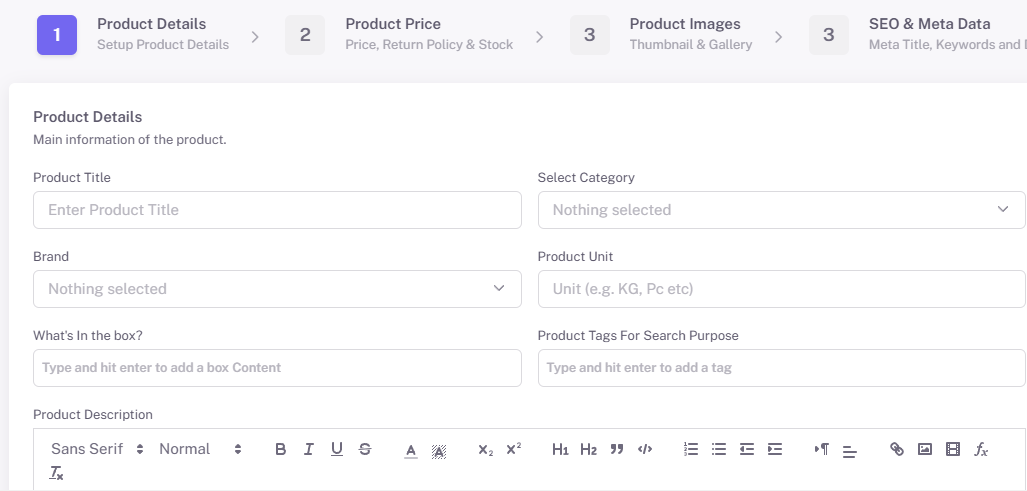
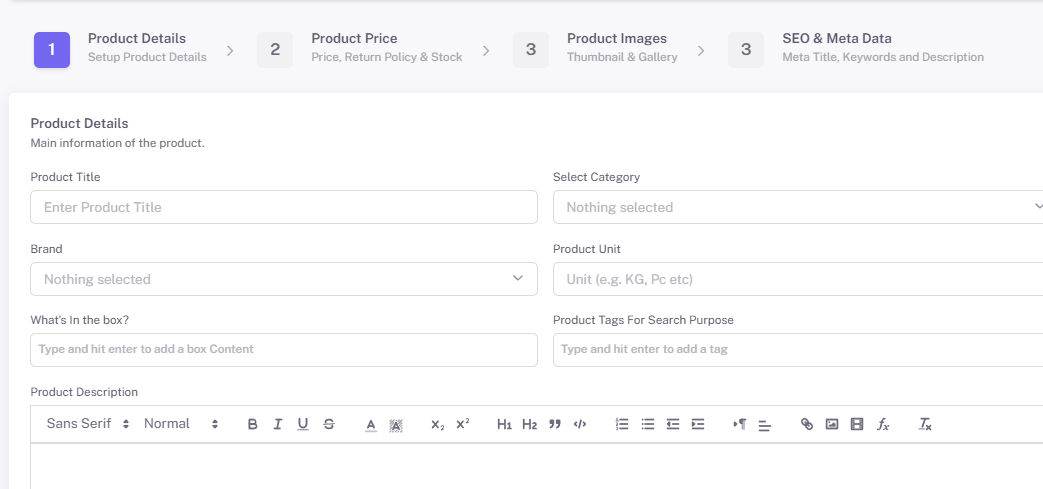
Add Products:
-
Click on "Add Product."
-
Fill in essential details such as name, description, price, SKU, and availability.
-
Upload high-resolution product images to enhance visual appeal.

-
-
SEO Optimization:
-
Add meta titles, descriptions, and keywords to improve search engine rankings for individual products.

-


Pro Tip: Regularly review the catalog to keep categories and products up-to-date.
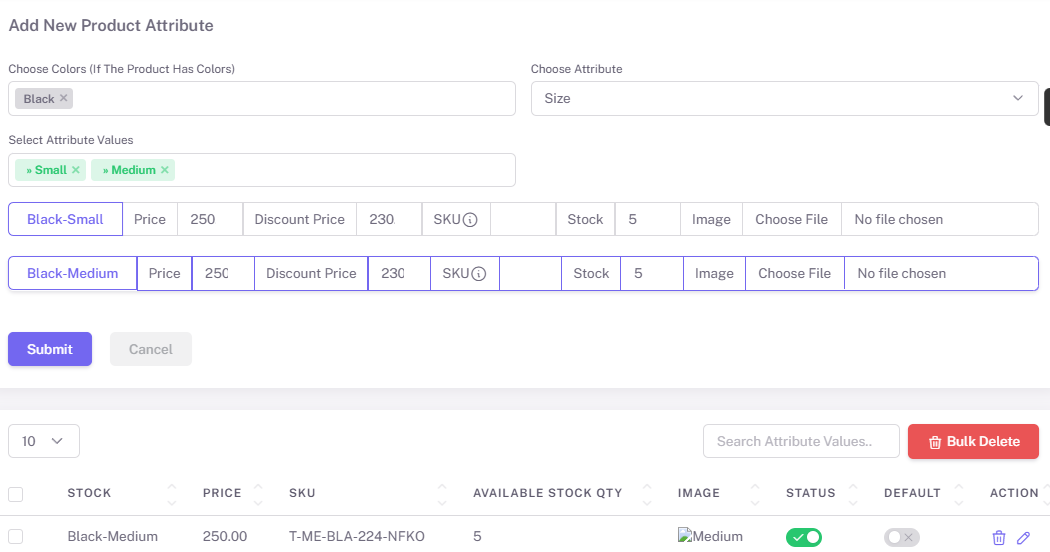
Adding and Managing Product Variations
Product variations allow you to offer multiple options for a single product, such as sizes, colors, or styles. Here’s how to manage them:
-
Navigate to Product Variations:
-
Select a product from the catalog and go to the "Variations" tab.
-
-
Add Variations:
-
Define attributes such as size, color, or material.
-
Enter the unique price, SKU, and inventory for each variation.
-
-
Organize Variations:
-
Use filters to organize variations logically.
-
Example: Group sizes together and colors as sub-options.
-
-
Bulk Editing:
-
Use the bulk editing tool to update multiple variations simultaneously.
-

Pro Tip: Use high-quality images for each variation to enhance the customer experience.
2. Creating and Managing Coupons
Promotions are key to driving sales and engaging customers. Follow these steps to create and manage coupons:
-
Access the Coupons Section:
-
Go to "Marketing Tools" in the dashboard and select "Coupons."
-
-
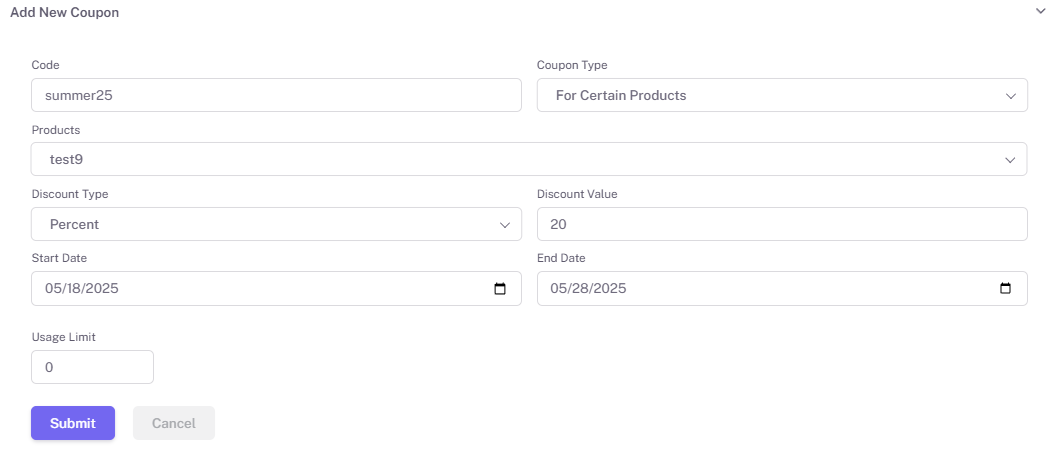
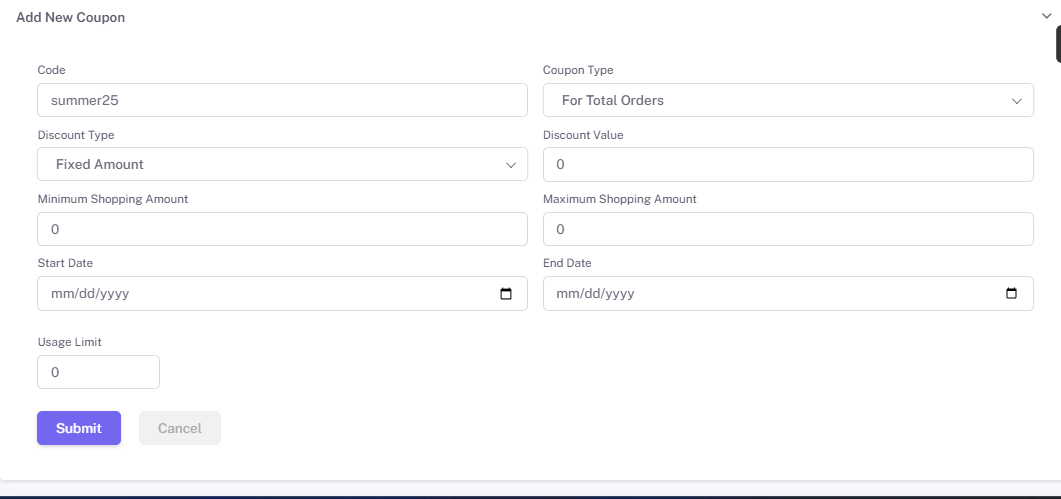
Create a New Coupon:
-
Enter a unique coupon code (e.g., "SUMMER20").
-
Define discount type (percentage or flat amount).
-
Set the expiration date and usage limits (e.g., one-time use).

-
-
Assign Conditions:
-
Choose specific products, categories, or cart values where the coupon applies.
-
Example: "20% off orders over $50."
-
-
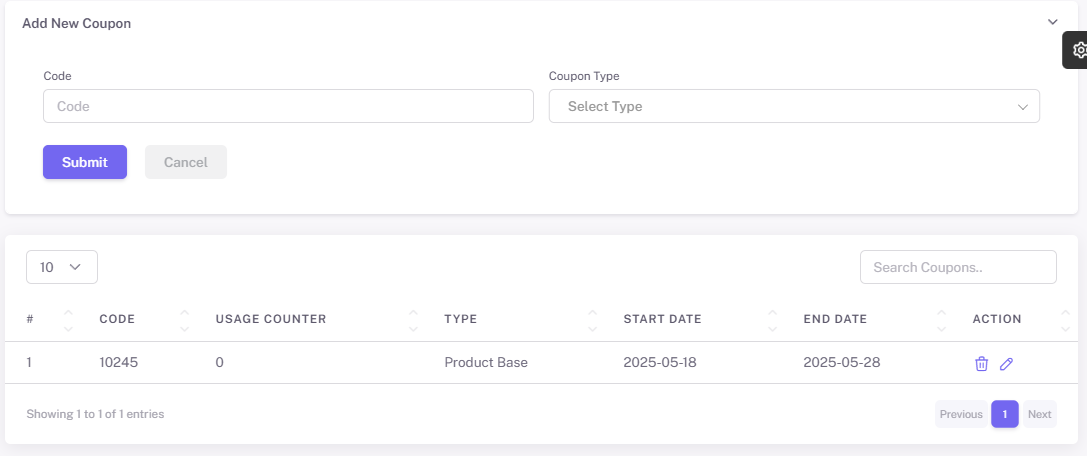
Activate and Track Coupons:
-
Activate the coupon and monitor its performance using the built-in analytics tool.

-


Pro Tip: Run seasonal campaigns with targeted coupons to attract repeat customers.
3. Using the File Manager
The file manager simplifies the process of uploading and managing media assets for your clients’ online stores. Here’s how to use it:
-
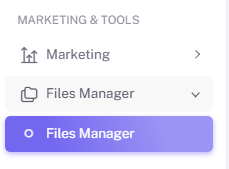
Access the File Manager:
-
Navigate to the "File Manager" in the "Store Management" section.
-
-
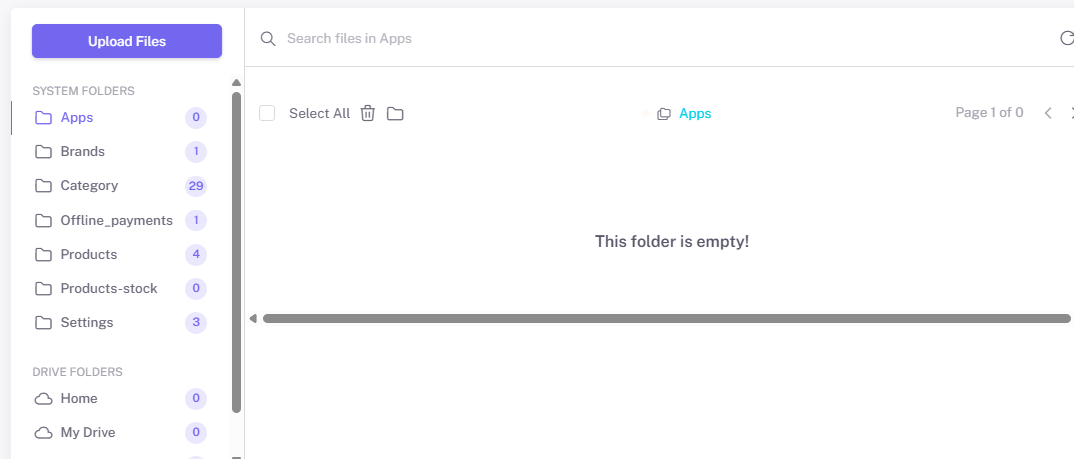
Upload Files:
-
Drag and drop images, videos, and documents into the file manager.
-
Organize assets into folders for easy access.
-
-
Optimize Media Files:
-
Use the built-in editor to resize or crop images before assigning them to products or banners.
-
-
Assign Media to Products:
-
From the product topic, link images or videos stored in the file manager to create engaging visuals.
-


Pro Tip: Regularly audit the file manager to remove unused files and free up storage space.
4. Tips and Best Practices
-
Maintain Consistency:
-
Ensure uniform formatting for product names, descriptions, and images across the catalog.
-
-
Analyze Promotions:
-
Use coupon performance data to refine marketing strategies.
-
-
Use Quality Media:
-
High-resolution images and videos improve user engagement and conversion rates.
-
-
Stay Organized:
-
Keep categories, product variations, and media assets well-structured to enhance navigation and efficiency.
-
Managing Payment Methods in Your E-Commerce Store
Empower Your Store with Flexible and Secure Payment Options
This guide walks you through how to configure and manage the available payment methods within your E-Commerce Shop Builder store. Offering multiple payment options helps improve customer trust and increases your sales conversion rate.
Setup and Configuration
To configure payment methods for your store:
-
Log in to your Store Admin Panel.
-
From the main dashboard, go to:
-
Setup and Configuration→Settings→Payment Methods
-
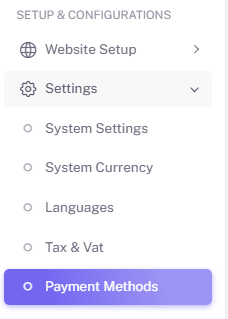
Here, you will see a structured interface showing all available payment options, including Cash On Delivery (C.O.D.), Stripe, and PayPal.
1. Enable Cash On Delivery (C.O.D.)
Cash On Delivery allows customers to pay for their orders upon delivery — a popular method in certain regions or for customers who prefer offline payment.
Steps to Activate:
-
In the Payment Methods section, locate “Cash On Delivery (C.O.D.)”
-
Toggle the “Activate Cash On Delivery” switch to ON
-
If the switch is OFF, the method will be disabled on the checkout page.


Notes:
-
No additional configuration is needed
-
When active, customers will see “Pay with Cash on Delivery” as an option at checkout
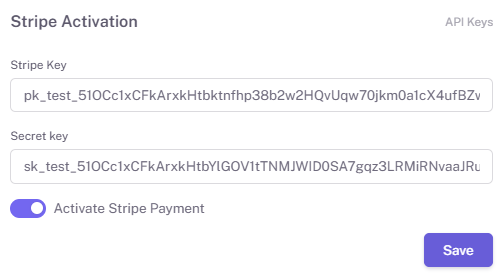
2. Configure Stripe Payments
Stripe enables secure online credit/debit card transactions. You need valid API credentials from your Stripe account to activate it.
Steps to Activate Stripe:
In the Stripe section under Payment Methods:
-
Enter the required credentials:
-
Stripe Key (Publishable Key)
-
Stripe Secret Key
-
-
Click “Save” to apply your changes.

How to Get Your Stripe API Keys:
-
Log in to your Stripe Dashboard
-
Go to Developers → API Keys
-
Copy the Publishable Key and Secret Key
-
Paste them into the respective fields in your store
Notes:
-
Ensure you're using Live Keys for production and Test Keys for sandbox testing.
-
Test the checkout process before going live.
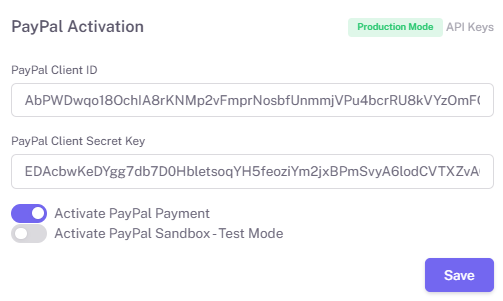
3. Configure PayPal Payments
PayPal is a widely used global payment platform that supports multiple currencies and secure transactions.
Steps to Activate PayPal:
In the PayPal section under Payment Methods:
-
Enter the following credentials:
-
PayPal Client ID
-
PayPal Client Secret Key
-
-
Click “Save” to enable the integration.

How to Obtain PayPal API Credentials:
-
Go to PayPal Developer Portal
-
Sign in and navigate to:
-
Dashboard → My Apps & Credentials
-
-
Under Live or Sandbox, create or select an app to reveal:
-
Client ID
-
Secret Key
-
-
Copy and paste them into the corresponding fields in your store settings
Notes:
-
Enable PayPal Smart Buttons for a smoother user experience
-
Consider setting up Sandbox mode for testing purposes before going live
Saving Your Settings
After configuring your desired payment methods:
-
Click the “Save” button at the bottom of the Payment Methods page
-
A confirmation message will appear indicating that the settings have been updated successfully
-
All active payment methods will now appear as options on your store’s checkout page
Troubleshooting & Best Practices
| Issue | Possible Solution |
| Payment method not showing | Make sure it’s activated and saved |
| API key errors | Double-check keys from Stripe or PayPal |
| Transactions failing | Check account status and error logs |
| Testing environment | Use test credentials from Stripe/PayPal |
Summary
| Payment Method | Requires Credentials | Toggle Option | Ideal For |
|---|---|---|---|
| Cash On Delivery | No | ✅ Yes | Local or offline payments |
| Stripe | ✅ Yes | ✅ Yes | Credit/Debit Card transactions |
| PayPal | ✅ Yes | ✅ Yes | Secure, global payments |
By correctly managing these payment methods, you ensure your customers can pay with the method that suits them best — increasing trust and reducing cart abandonment.
Connecting 3rd Party APIs in Your Online Store
Enhance Your Store’s Performance, Marketing, and User Engagement
The E-Commerce Shop Builder makes it easy to connect with powerful third-party tools like Google Analytics, Facebook Pixel, and Twilio WhatsApp. These integrations help you monitor performance, improve marketing, and stay connected with your customers.
This guide will walk you through how to activate and configure each available API.
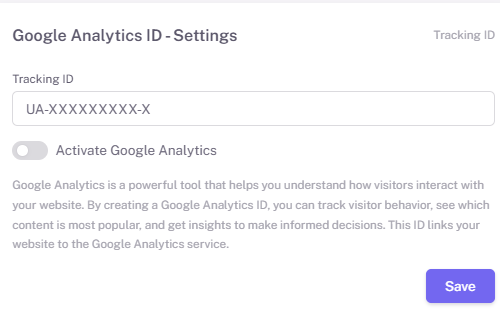
1. Google Analytics Integration
What is Google Analytics?
Google Analytics helps you understand visitor behavior on your website. You can track:
-
Pageviews
-
Session duration
-
Bounce rates
-
Conversions
-
Which pages or products get the most traffic
This insight is vital for making informed decisions, improving content strategy, and maximizing ROI.
How to Set It Up:
-
Go to your admin panel.
-
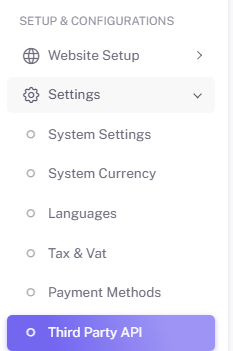
Navigate to:
Setup & Configuration > Settings > 3rd Party API
-
In the Google Analytics section:
-
Enter your Google Analytics Tracking ID (e.g.,
UA-XXXXXXXXX-XorG-XXXXXXXXX) -
Toggle the switch “Activate Google Analytics” to ON
-
Click Save.

-
Where to Get Your Tracking ID:
-
Log in to your Google Analytics Account
-
Go to Admin > Property Settings > Tracking ID
-
Copy the ID and paste it into the required field
Once Activated:
-
Your website starts sending real-time tracking data to your Google Analytics dashboard
-
You can analyze traffic, user behavior, and more from your Analytics account
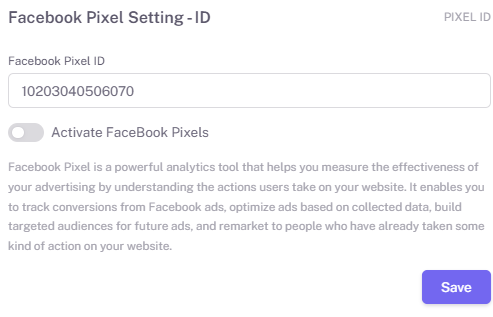
2. Facebook Pixel Integration
What is Facebook Pixel?
Facebook Pixel helps you track user activity on your store and measure the effectiveness of your Facebook and Instagram ads. With Pixel, you can:
-
Track conversions
-
Optimize ad delivery
-
Retarget users who visited your site
-
Build custom audiences
How to Set It Up:
-
Under the Facebook Pixel Setting section:
-
Enter your Facebook Pixel ID
-
Toggle the “Activate Facebook Pixel” switch to ON
-
Click Save.

-
Where to Get Your Pixel ID:
-
Log in to Meta Business Suite
-
Go to Events Manager > Data Sources
-
Select your Pixel and copy the Pixel ID
Once Activated:
-
Pixel starts tracking specific actions (purchases, sign-ups, add-to-cart, etc.)
-
You can use this data for more accurate ad targeting and remarketing
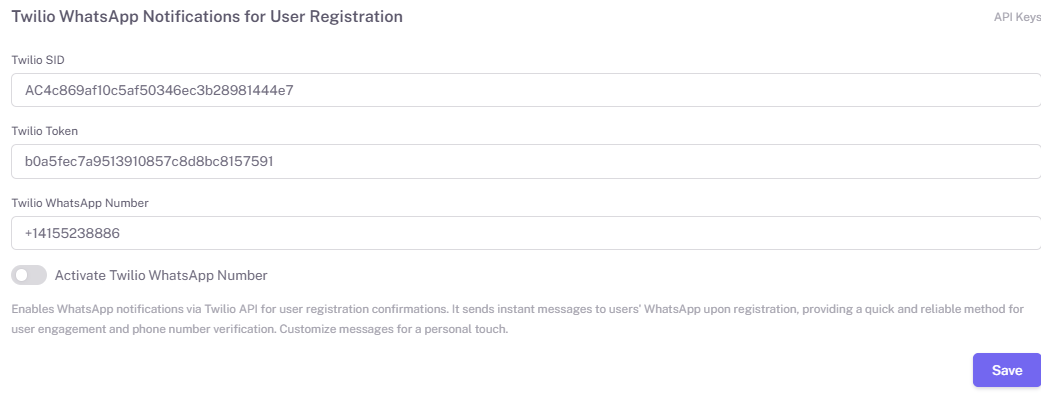
3. Twilio WhatsApp Notifications for User Registration
What is Twilio WhatsApp Integration?
This feature enables automated WhatsApp messages to users when they register on your site. It’s ideal for:
-
Instant registration confirmations
-
Personalized welcome messages
-
Phone number verification
How to Set It Up:
-
In the Twilio WhatsApp section:
-
Enter your Twilio SID
-
Enter your Twilio Token
-
Enter your Twilio WhatsApp Number (e.g.,
+1234567890) -
Toggle the “Activate Twilio WhatsApp Number” switch to ON
-
Click Save.

-
Where to Get Your Twilio Credentials:
-
Log in to your Twilio Console
-
Go to the Dashboard
-
Copy the Account SID
-
Copy the Auth Token
-
Use the verified WhatsApp number from your Twilio setup
-
Once Activated:
-
New users will receive WhatsApp notifications immediately after registering
-
You can customize the welcome message in your store settings or contact support for template guidance
Summary Table
| Integration | Purpose | Required Info | Result |
|---|---|---|---|
| Google Analytics | Track user behavior & performance | GA Tracking ID | Analytics data sent to GA dashboard |
| Facebook Pixel | Optimize Facebook ads & track conversions | Facebook Pixel ID | Tracks actions, builds audiences |
| Twilio WhatsApp | Send registration confirmations via WhatsApp | SID, Token, WhatsApp Number | Instant messaging to users |
Best Practices
-
Double-check your credentials before saving
-
Monitor each service's dashboard to confirm data is flowing correctly
-
Use test registrations or ad previews to verify functionality
-
Don’t share your API keys or tokens publicly
By connecting these 3rd-party services, you're expanding the capabilities of your online store—making it smarter, faster, and more customer-focused.
Need help? Reach out to your reseller or support team to assist with the integration process.