
Setting up & Configuring E-Commerce
1. Creating a Compelling Landing Topic
A strong landing topic is the cornerstone of your online store. Follow these steps to create a topic that engages visitors and drives conversions:
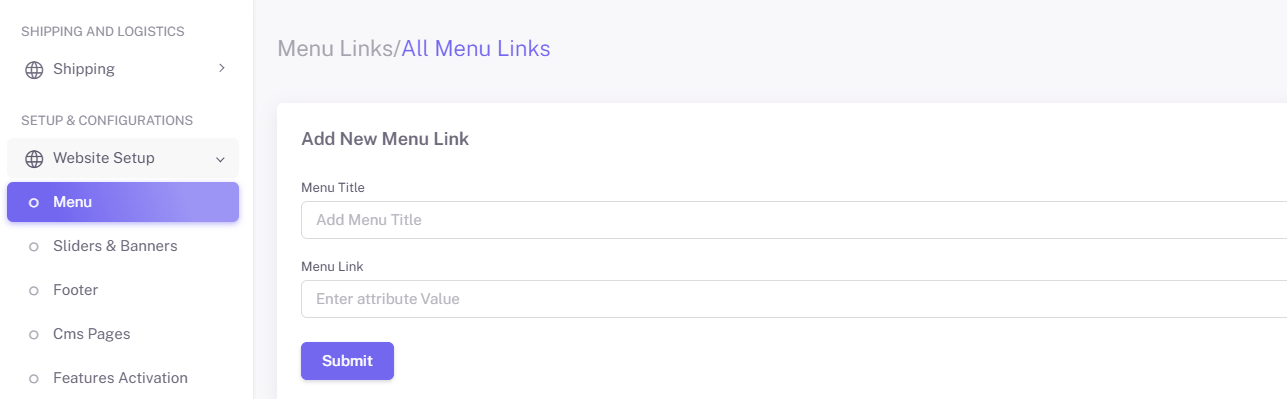
Menu
-
Navigate to the "Website Setup" section.
-
Choose a menu, then add the link and title.
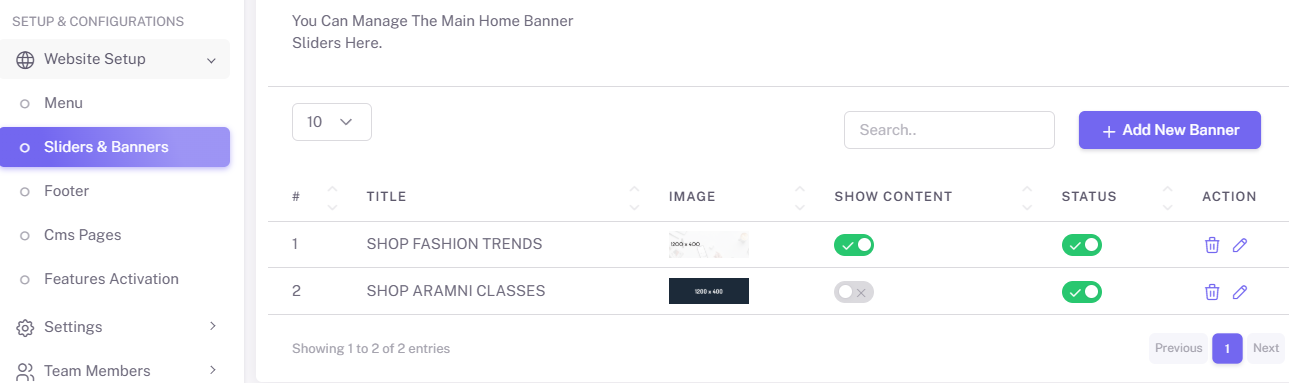
Sliders and Banners
-
Upload high-quality images and videos.
-
Include a clear call-to-action (e.g., "Shop Now" or "Learn More").
-
Add middle topic banners as needed.

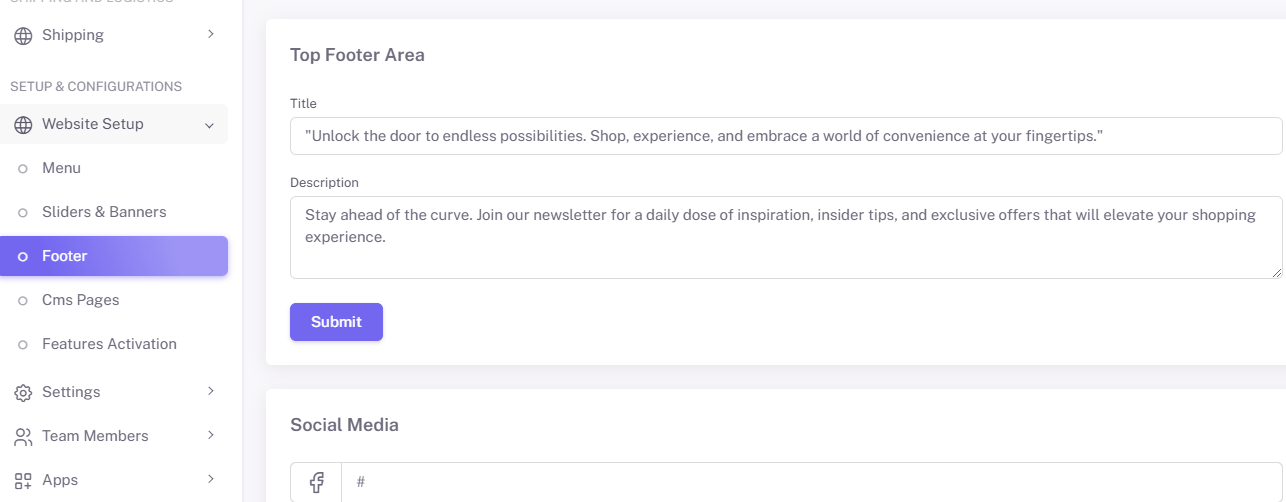
Footer
-
Add a footer title and description.
-
Include social media accounts (up to three widget links).

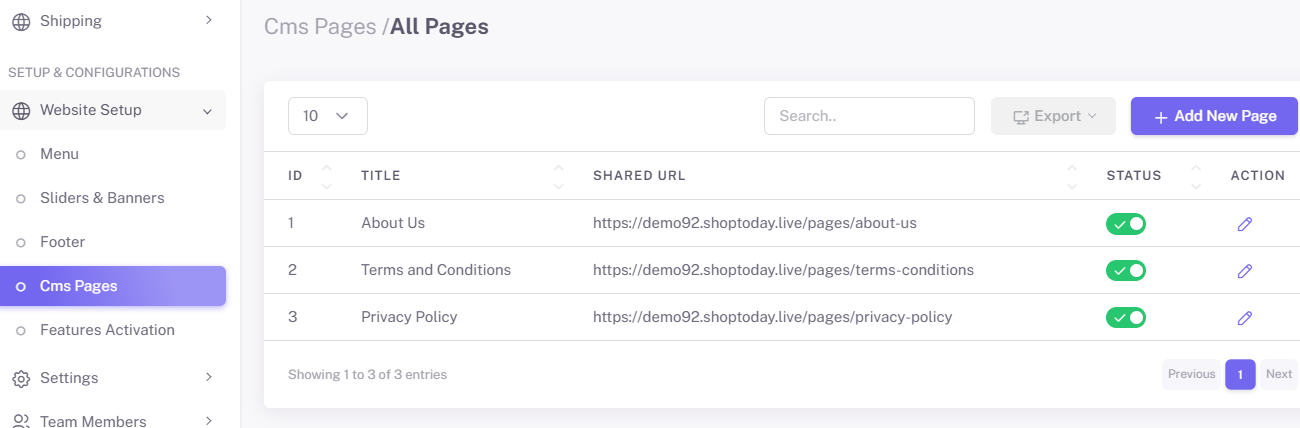
CMS Topics
-
Manage and add topics to provide detailed information about your store.

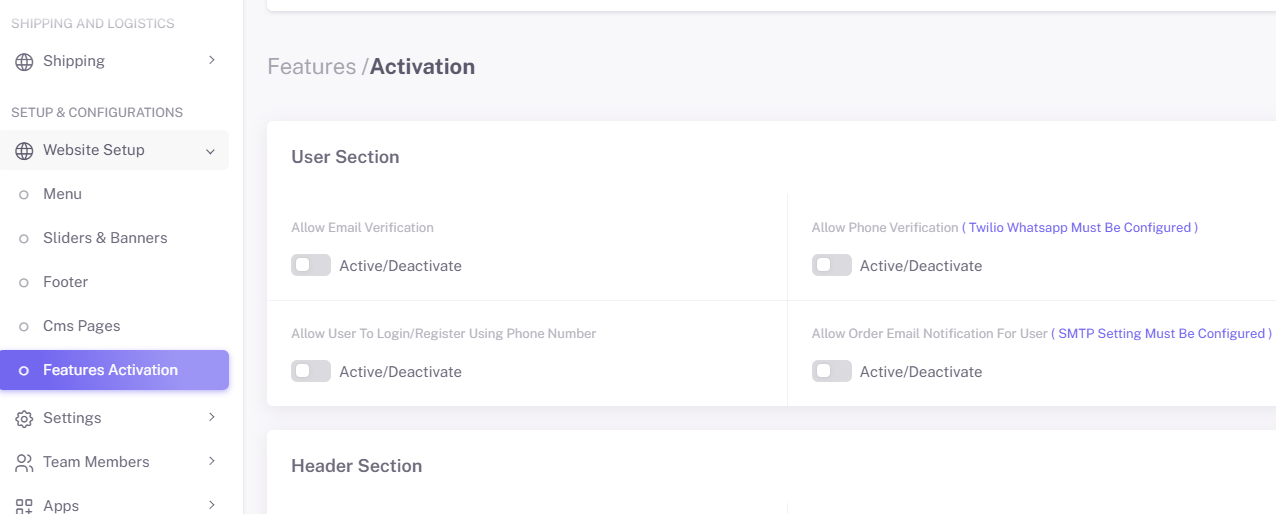
Features Activation
-
Select which features to activate for the user section, header section, and landing topic section.

2. Configuring System Settings
Proper system settings ensure your store operates smoothly. Here’s how to configure them:
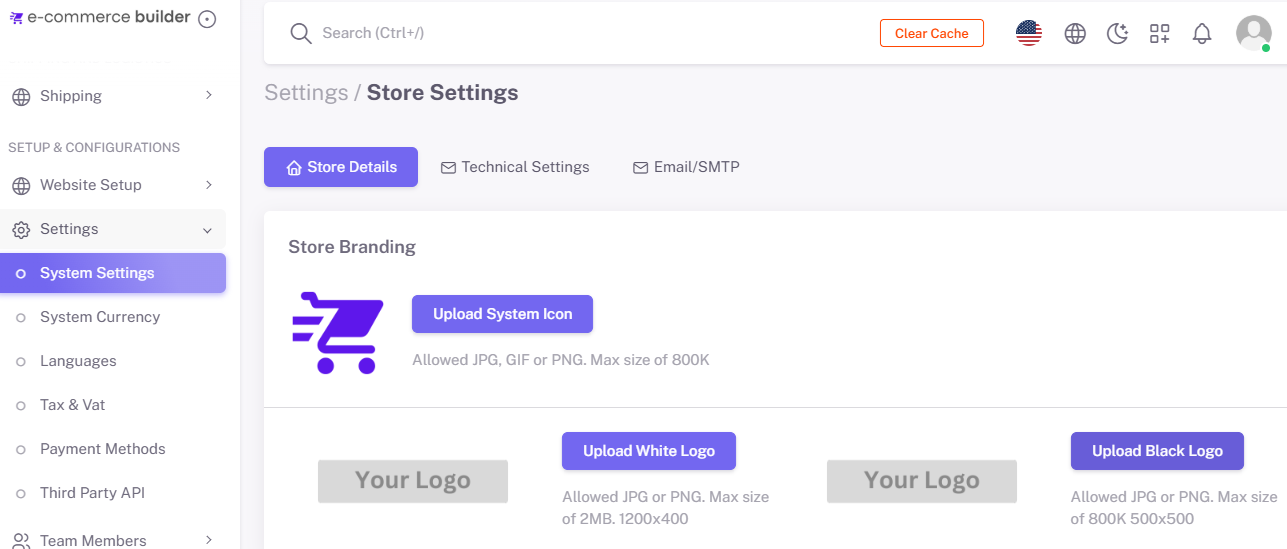
Access System Settings
-
Go to the "Settings" menu from the dashboard under "Setup and Configuration".
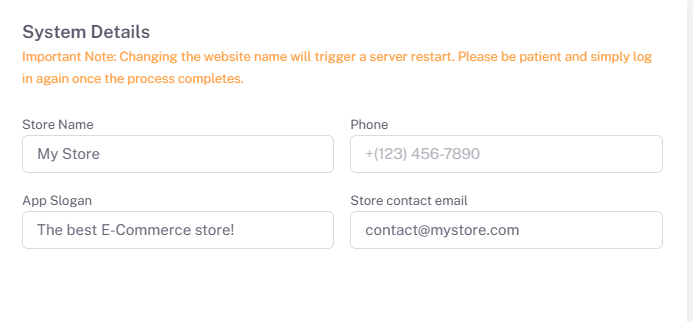
System Settings
-
Set your store details, including store name, logo, and favicon.
-
Define your business email and contact information under "System Details".


Regional Settings
-
Configure the default language and time zone under "App Timezone".


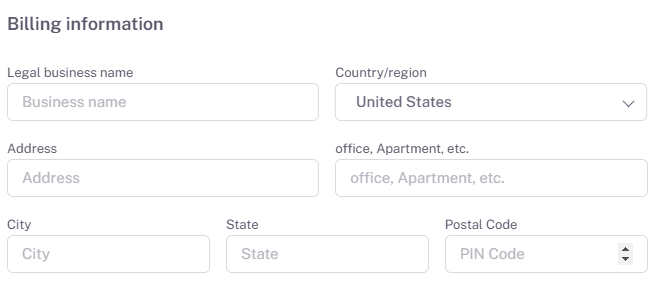
Billing Settings
-
Set up billing information under the "System Settings" tab.

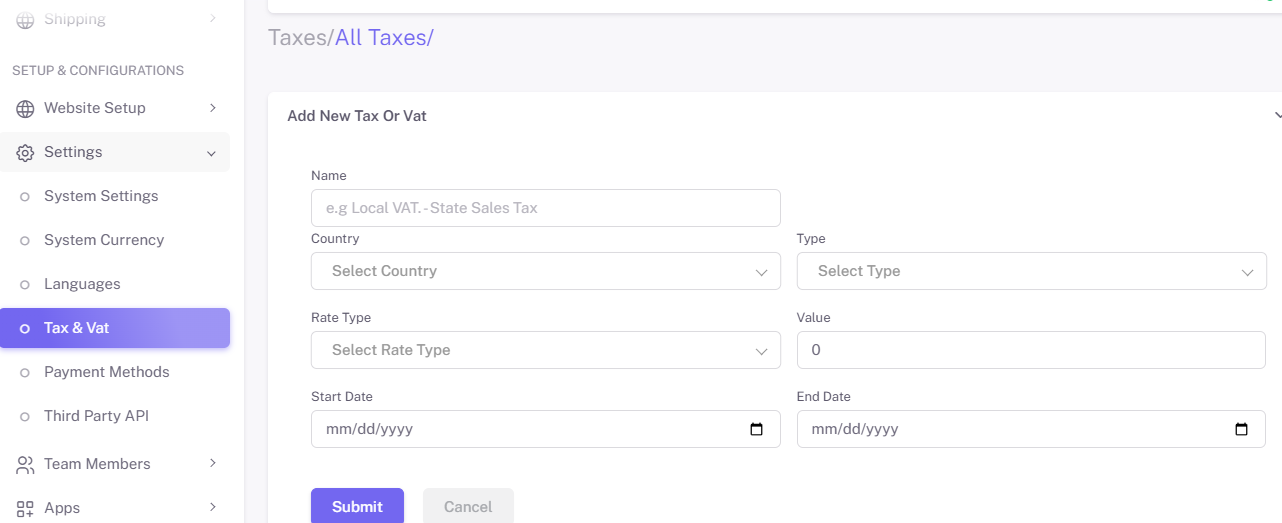
Tax Settings
-
Go to the "Tax & VAT" tab under the "Setup and Configuration" section.
-
Enable tax calculations and define regional tax rates.

Pro Tip: Regularly review and update settings to ensure they reflect current business needs.
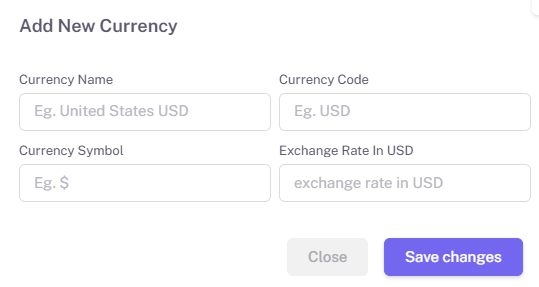
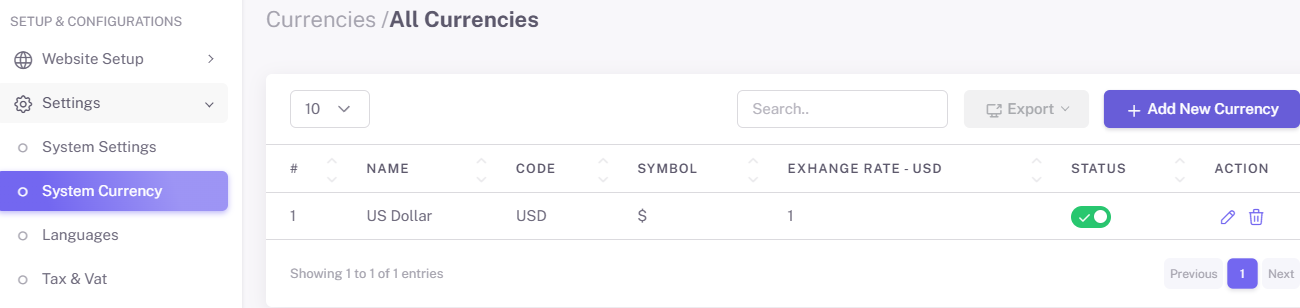
3. Setting Up System Currencies
Offering multi-currency options can expand your global reach. Here’s how to set up system currencies:
-
Navigate to "Setup and Configuration" -> "Settings" -> "System Currencies" tab.

-
Select supported currencies from the list.
-
Set the exchange rate manually or enable automatic updates.
-
Define a default currency for your store.
-
Choose display options, such as showing currency symbols and separators (e.g., $1,000 vs. 1000 USD).

Pro Tip: Use a reliable currency API for real-time exchange rate updates.
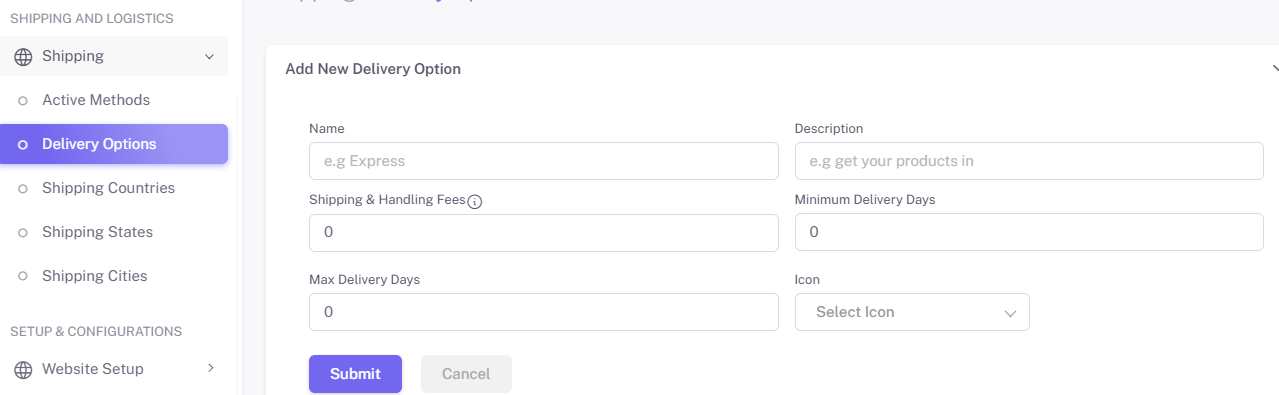
4. Managing Shipping Options
Streamlined shipping management ensures timely delivery and a positive customer experience.
First Visit to the Shipping Settings
-
Go to the "Shipping" tab under the "Shipping and Logistics" section.
-
Choose active methods, delivery options, shipping countries, states, and cities.
Set Up Shipping Zones
-
Define regions or countries you’ll ship to.
-
Assign shipping rates to each zone.
Configure Shipping Methods
-
Enable flat-rate, free shipping, or dynamic shipping options based on weight or cart value.
-
Integrate with carriers like FedEx, UPS, or DHL for real-time rates.
Enable Tracking
-
Provide tracking numbers to customers via automated emails.

Pro Tip: Offer free shipping for orders above a specific value to encourage larger purchases.
5. Managing Your Online Store
Product Catalog Management
-
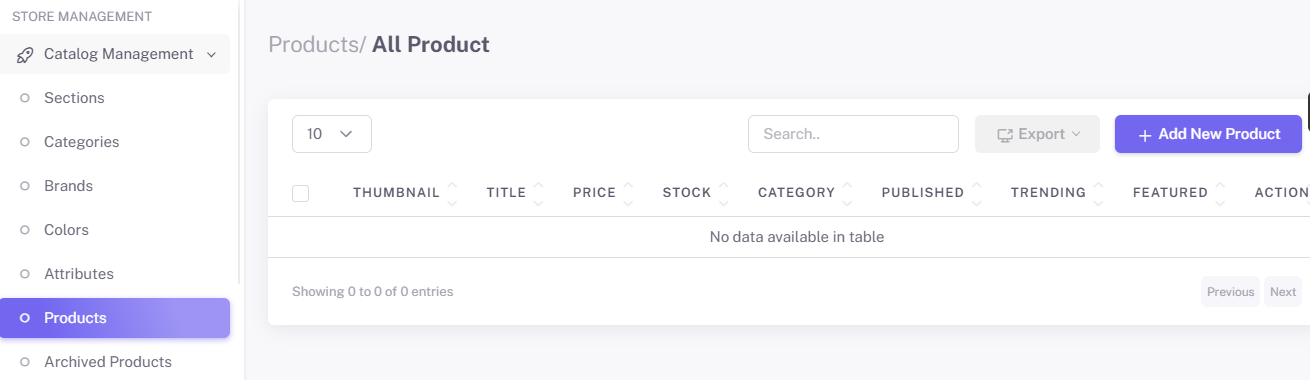
Manage products under the "Store Management" section in the dashboard.
-
Navigate to "Catalog Management" -> "Products".
-
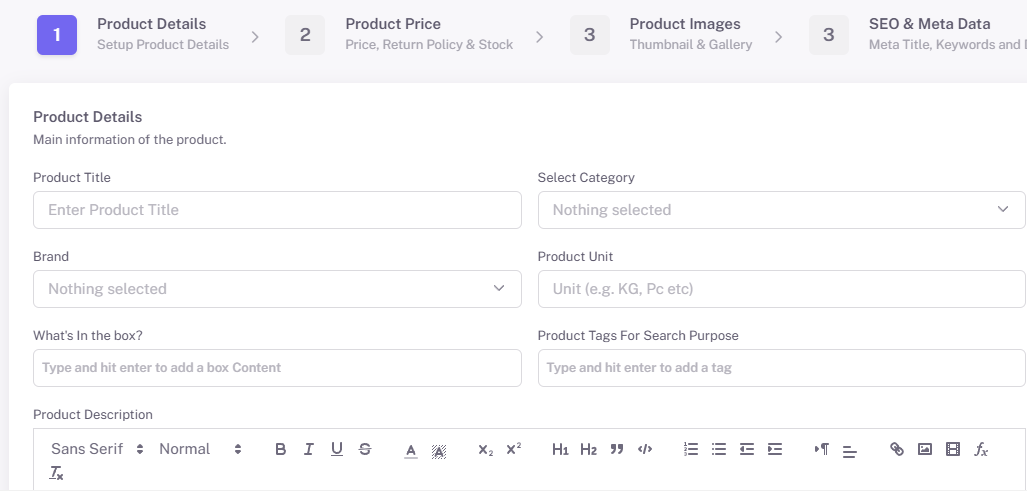
Enter product details, including name, description, price, and SKU.
-
Upload high-resolution images.


Organize Products
-
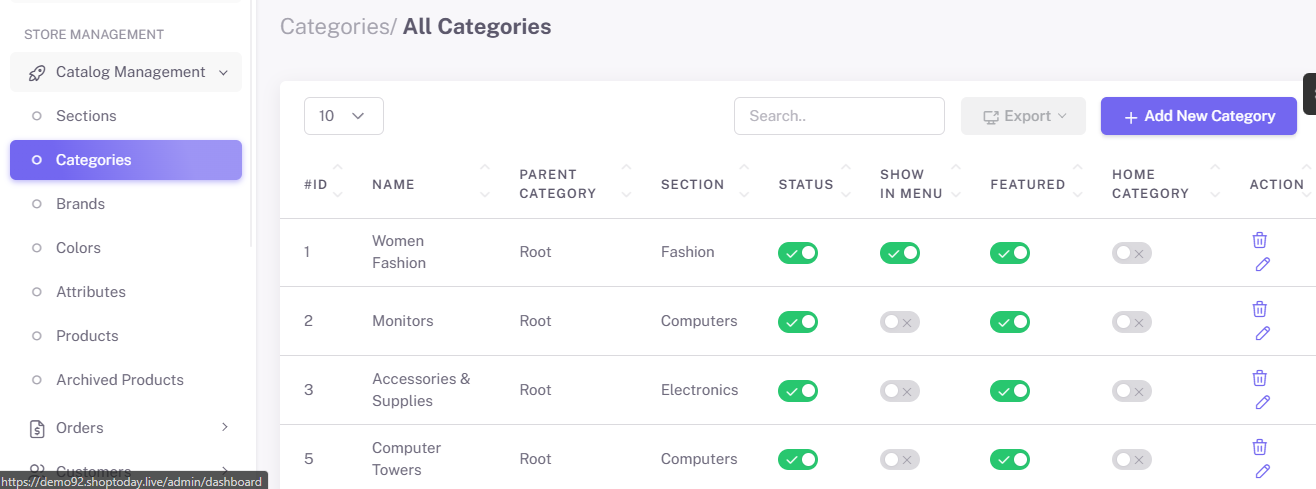
Go to "Catalog Management" -> "Categories".
-
Create categories and tags for easier navigation.

Optimize for SEO
-
Add meta titles and descriptions for each product.
-
Use keywords relevant to your niche to improve search engine visibility.


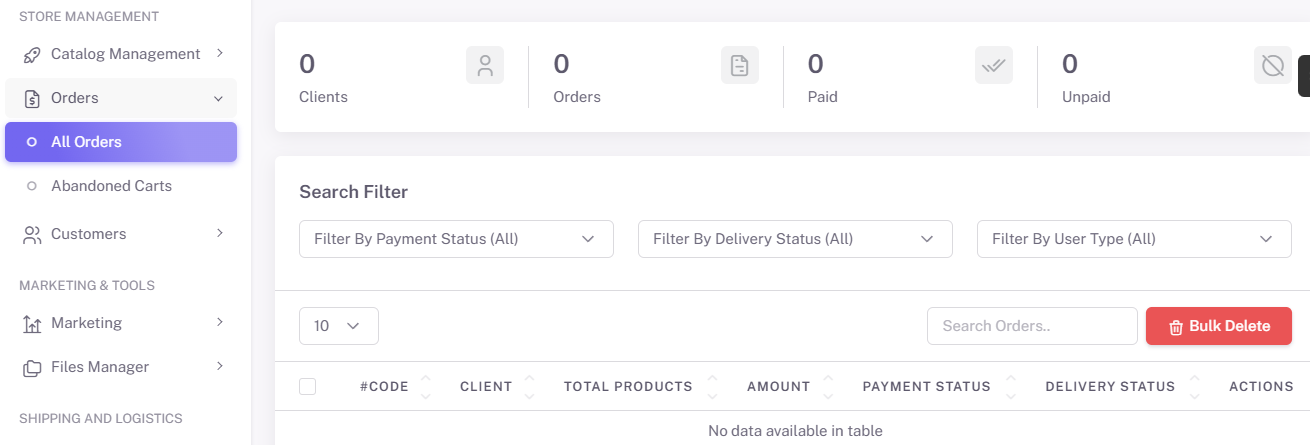
Order Processing
-
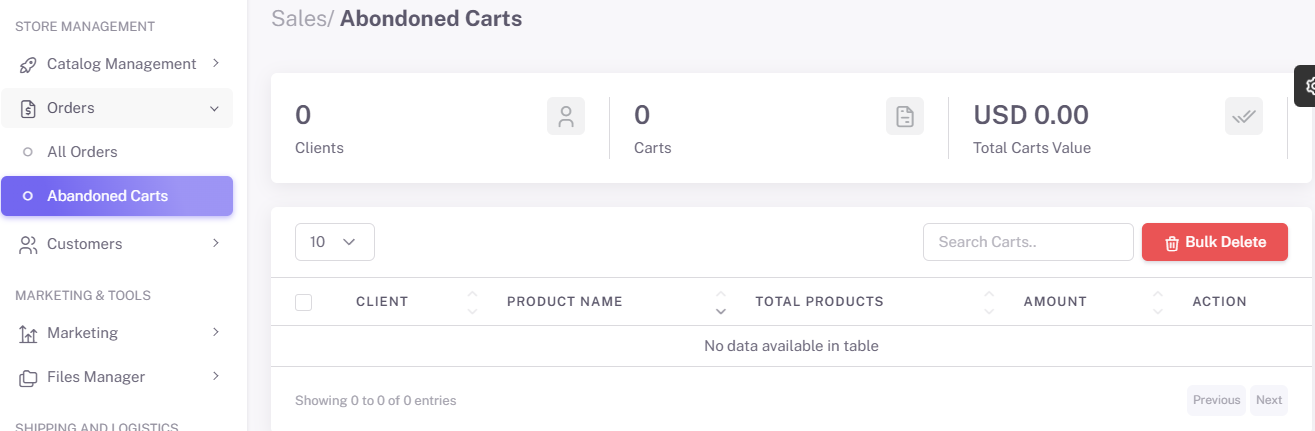
View and manage orders from the "Orders" dashboard under "Store Management".
-
Generate invoices and packing slips with one click.
-
Update order status (e.g., Processing, Shipped, Completed).
-
Manage abandoned carts to recover lost sales.


6. Advanced Features
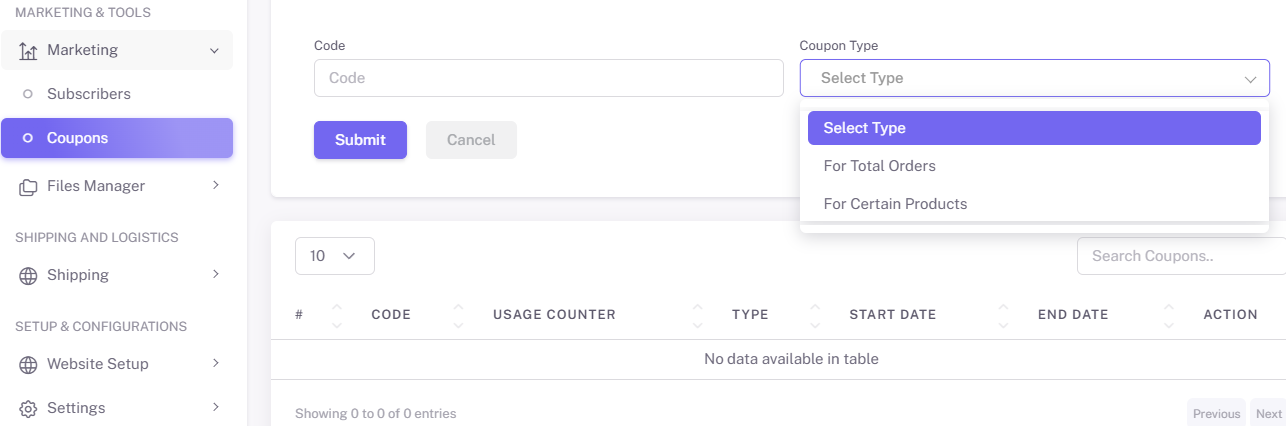
Promotions
-
Find "Coupons" under "Marketing Tools" -> "Marketing".
-
Create discount codes for seasonal sales or special promotions.
-
Set conditions such as minimum order value or applicable categories.
-
Create coupons for specific products or total cart value.

Payment Gateway Integration
-
Navigate to "Setup and Configuration" -> "Settings" -> "Payment Methods".
-
Connect your store with payment processors like Stripe, PayPal, or Square.
-
Enable multiple payment methods, including credit cards and digital wallets.


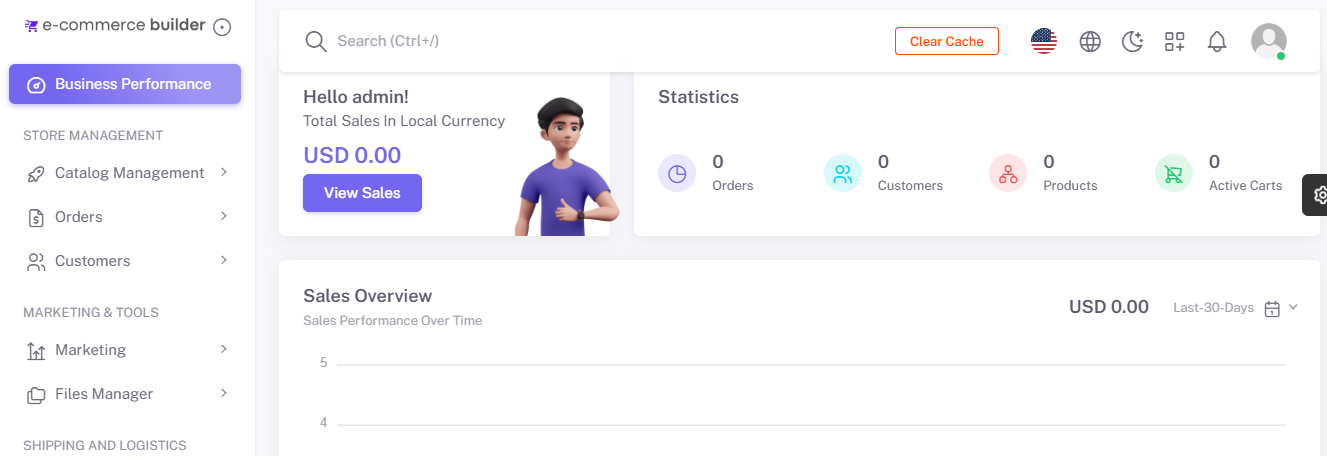
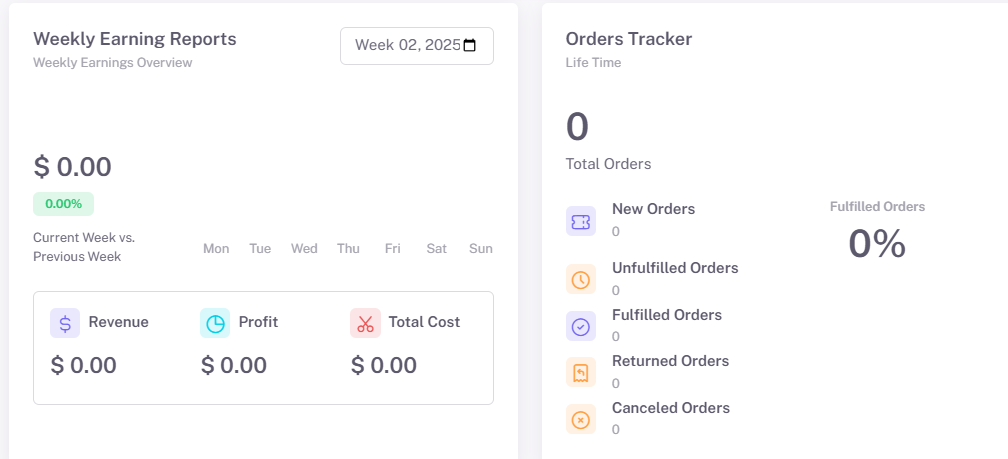
Reporting and Analytics
-
Under "Business Performance", access detailed reports on:
-
Sales performance
-
Earning reports
-
Product popularity
-
-
Use insights to refine your marketing and sales strategies.


7. Support and Troubleshooting
-
Access a dedicated support portal for technical assistance.
-
Browse the FAQ section for solutions to common issues.
-
Submit tickets for advanced troubleshooting.