Setting up & Configuring E-Commerce
1. Creating a Compelling Landing Topic
A strong landing topic is the cornerstone of your online store. Follow these steps to create a topic that engages visitors and drives conversions:
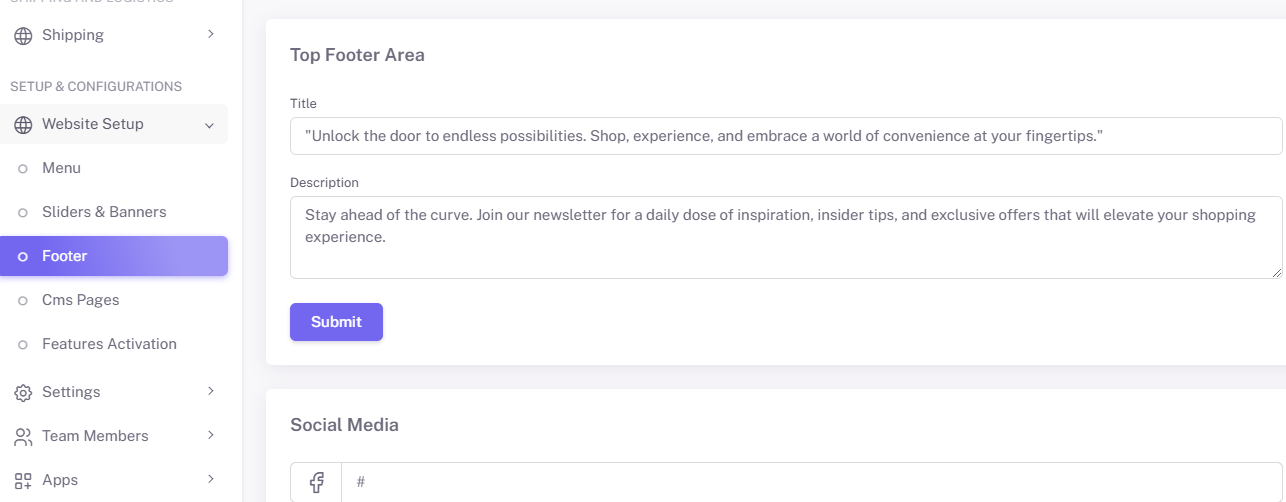
Menu
Sliders and Banners
-
Upload high-quality images and videos.
-
Include a clear call-to-action (e.g., "Shop Now" or "Learn More").
-
Add middle topic banners as needed.
Footer
CMS Topics
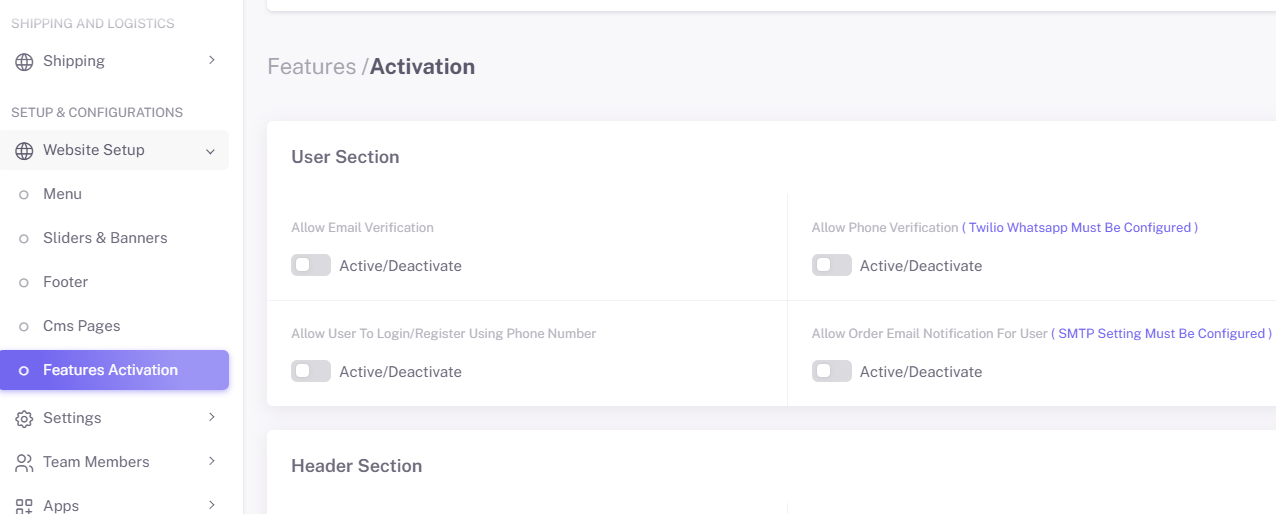
Features Activation
2. Configuring System Settings
Proper system settings ensure your store operates smoothly. Here’s how to configure them:
Access System Settings
-
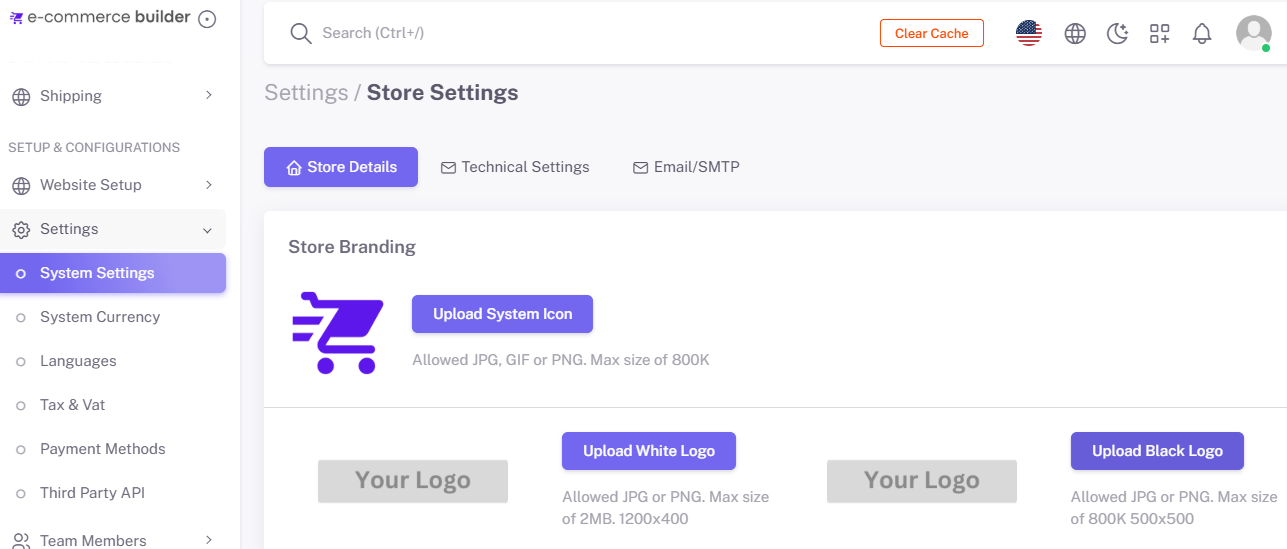
Go to the "Settings" menu from the dashboard under "Setup and Configuration".
System Settings
-
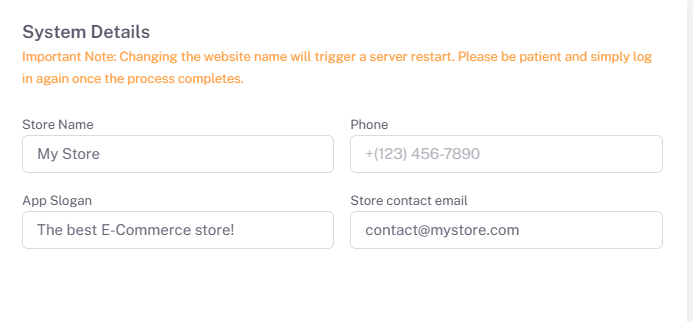
Set your store details, including store name, logo, and favicon.
-
Define your business email and contact information under "System Details".
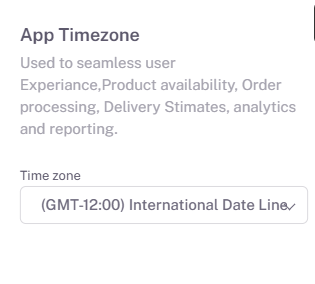
Regional Settings
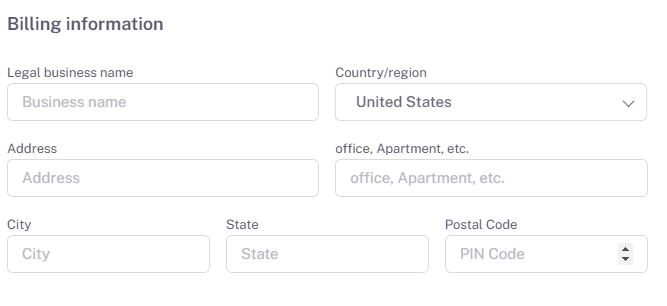
Billing Settings
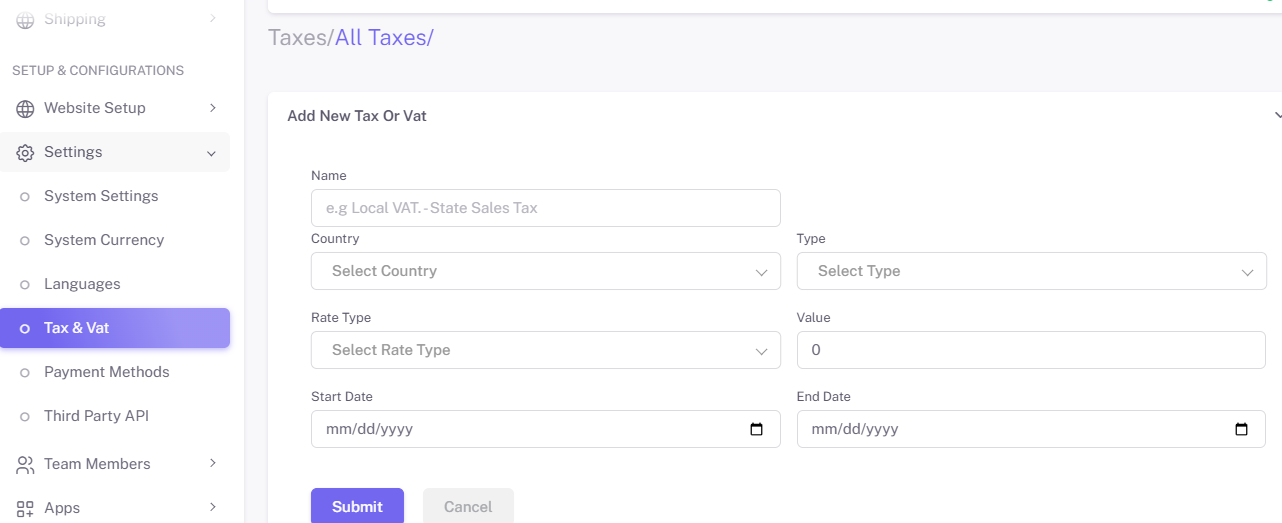
Tax Settings
-
Go to the "Tax & VAT" tab under the "Setup and Configuration" section.
-
Enable tax calculations and define regional tax rates.
Pro Tip: Regularly review and update settings to ensure they reflect current business needs.
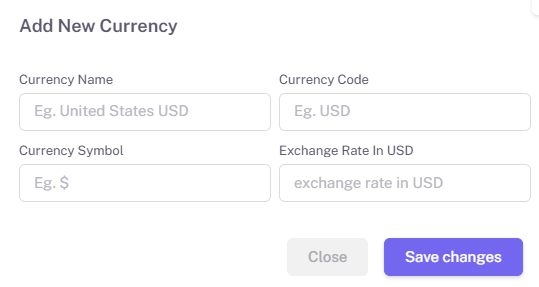
3. Setting Up System Currencies
Offering multi-currency options can expand your global reach. Here’s how to set up system currencies:
Pro Tip: Use a reliable currency API for real-time exchange rate updates.
4. Managing Shipping Options
Streamlined shipping management ensures timely delivery and a positive customer experience.
First Visit to the Shipping Settings
-
Go to the "Shipping" tab under the "Shipping and Logistics" section.
-
Choose active methods, delivery options, shipping countries, states, and cities.
Set Up Shipping Zones
-
Define regions or countries you’ll ship to.
-
Assign shipping rates to each zone.
Configure Shipping Methods
-
Enable flat-rate, free shipping, or dynamic shipping options based on weight or cart value.
-
Integrate with carriers like FedEx, UPS, or DHL for real-time rates.
Enable Tracking
Pro Tip: Offer free shipping for orders above a specific value to encourage larger purchases.
5. Managing Your Online Store
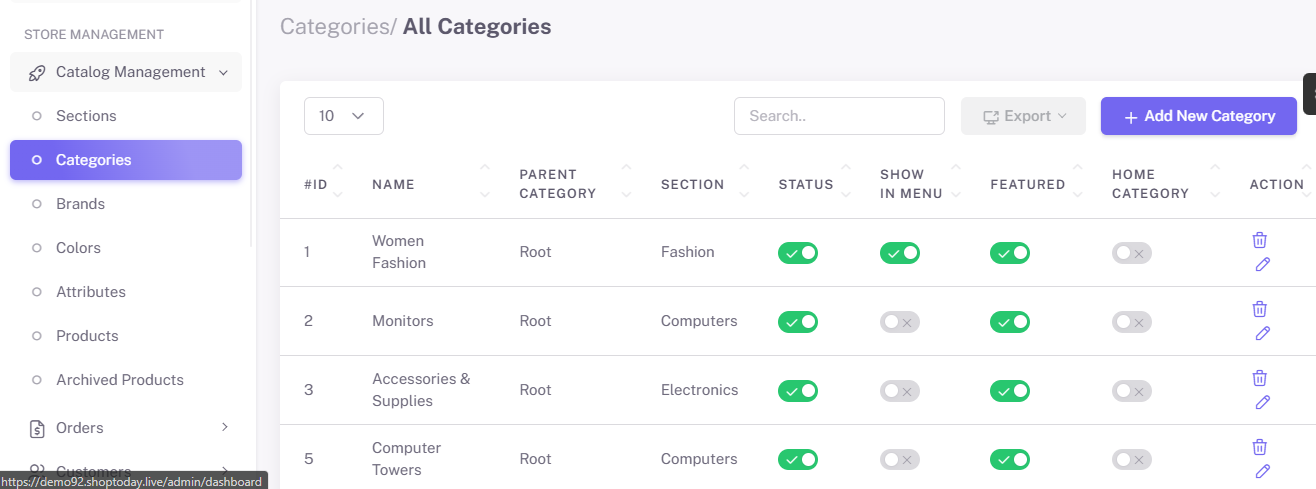
Product Catalog Management
-
Manage products under the "Store Management" section in the dashboard.
-
Navigate to "Catalog Management" -> "Products".
-
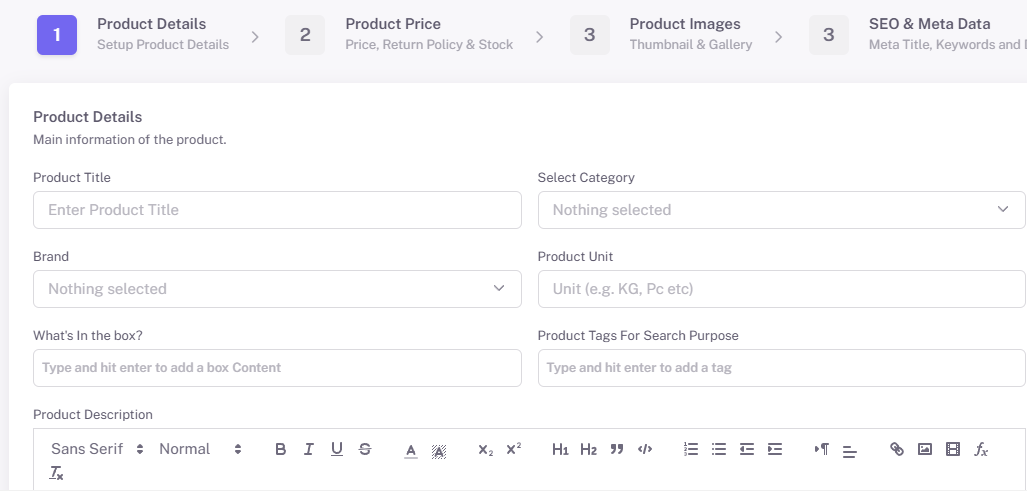
Enter product details, including name, description, price, and SKU.
-
Upload high-resolution images.
Organize Products
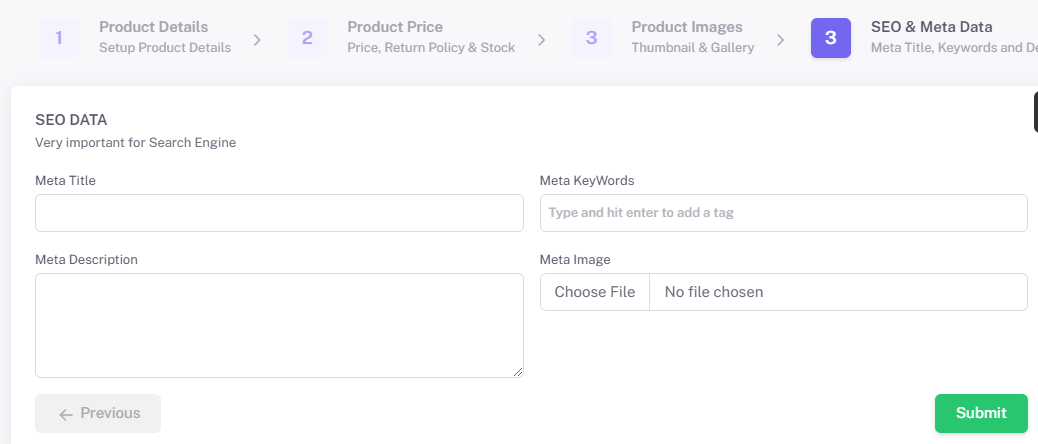
Optimize for SEO
-
Add meta titles and descriptions for each product.
-
Use keywords relevant to your niche to improve search engine visibility.
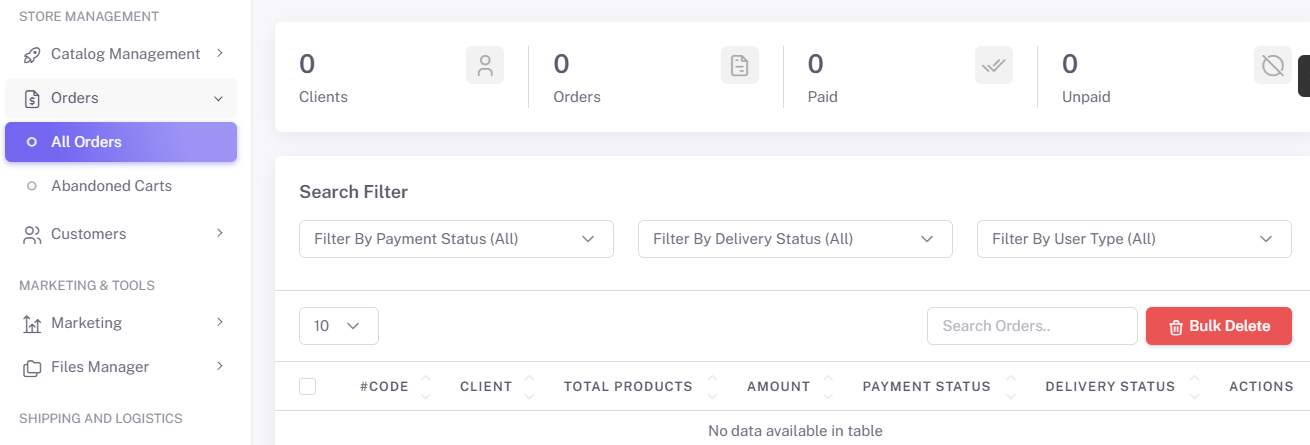
Order Processing
-
View and manage orders from the "Orders" dashboard under "Store Management".
-
Generate invoices and packing slips with one click.
-
Update order status (e.g., Processing, Shipped, Completed).
6. Advanced Features
Promotions
-
Find "Coupons" under "Marketing Tools" -> "Marketing".
-
Create discount codes for seasonal sales or special promotions.
-
Set conditions such as minimum order value or applicable categories.
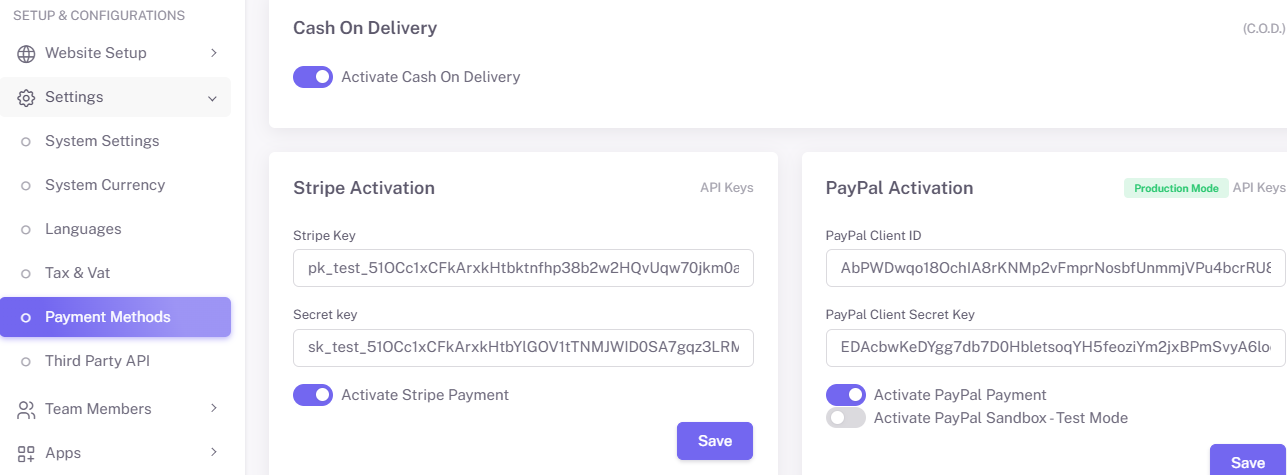
Payment Gateway Integration
Reporting and Analytics
-
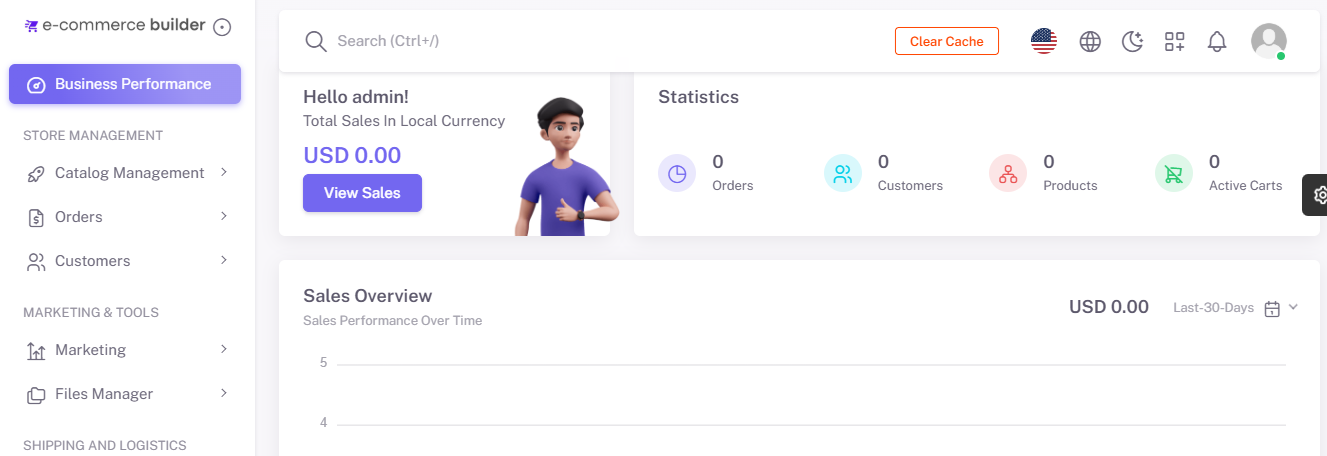
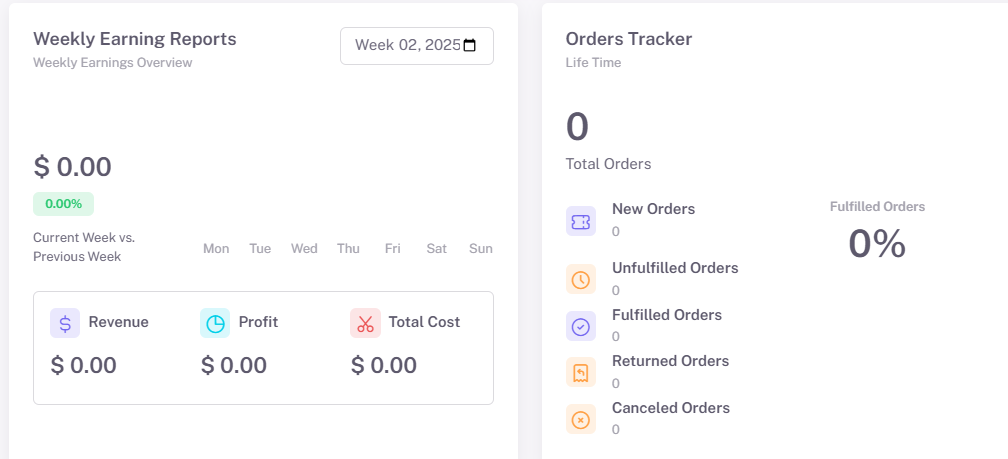
Under "Business Performance", access detailed reports on:
-
Sales performance
-
Earning reports
-
Product popularity
-
7. Support and Troubleshooting
-
Access a dedicated support portal for technical assistance.
-
Browse the FAQ section for solutions to common issues.
-
Submit tickets for advanced troubleshooting.


