
About Emails & File Management
Your Step-by-Step Guide to Accessing and Using Your Web Hosting Dashboard
Welcome to your SiteDeploy web hosting account! This guide will walk you through how to access your cPanel dashboard and manage essential features like email accounts, files, and backups.
1. Accessing cPanel
After purchasing your web hosting package, you will receive a welcome email containing:
-
Your cPanel login link
-
Your username
-
Your password
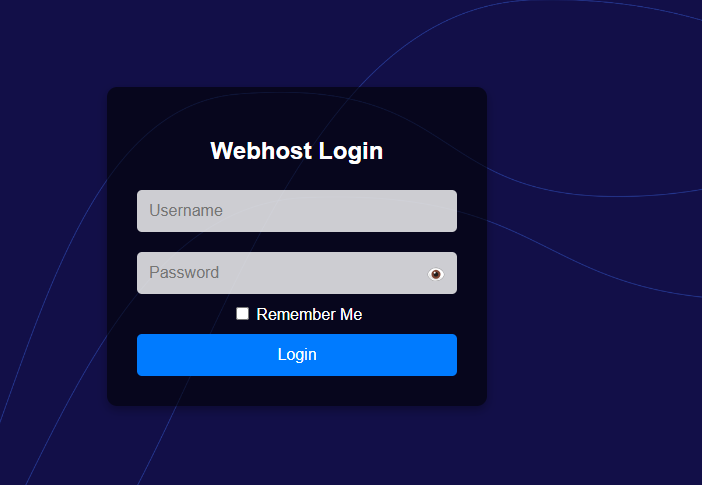
How to Log In:
-
Open the cPanel login link from your email.
-
Enter your username and password.
-
Click Log In.
Once logged in, you’ll be taken to your cPanel dashboard, where you can control everything related to your website and hosting.
2. Navigating the cPanel Dashboard
The cPanel interface is designed to be user-friendly and easy to navigate. From here, you can manage email accounts, website files, databases, backups, and more—all in one place.
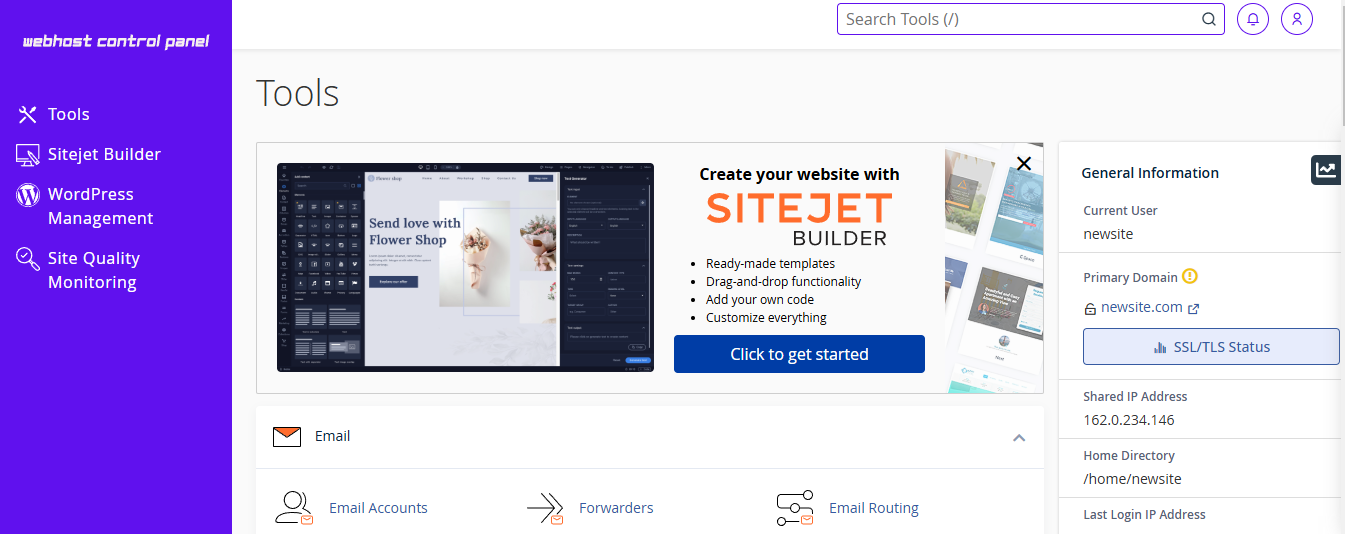
a. Managing Email Accounts
With cPanel, you can create and manage custom email addresses linked to your domain (e.g., [email protected]).
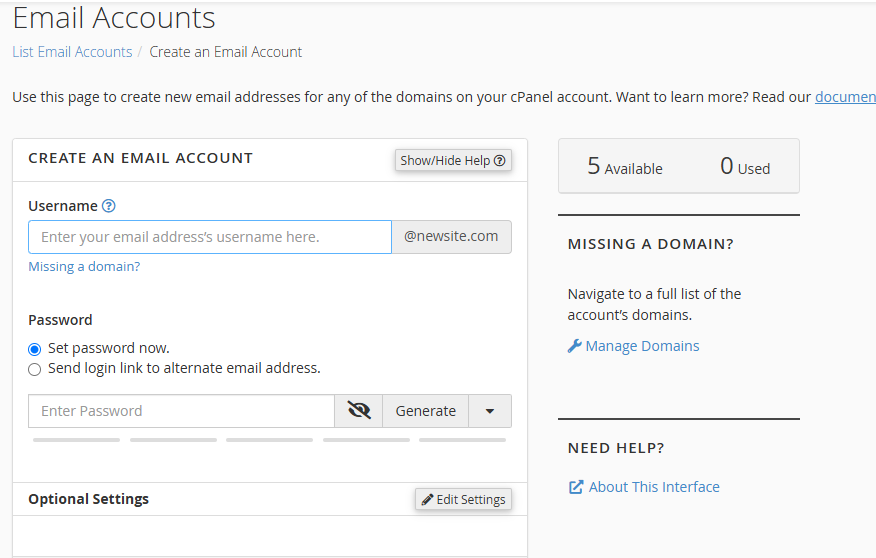
b. Creating an Email Account
-
In the Email section, click Email Accounts.
-
Click the Create button.
-
Enter the username you want (e.g., [email protected]).
-
Choose a password or use the password generator.
-
Click Create.


Your new email account will now appear in your email account list.
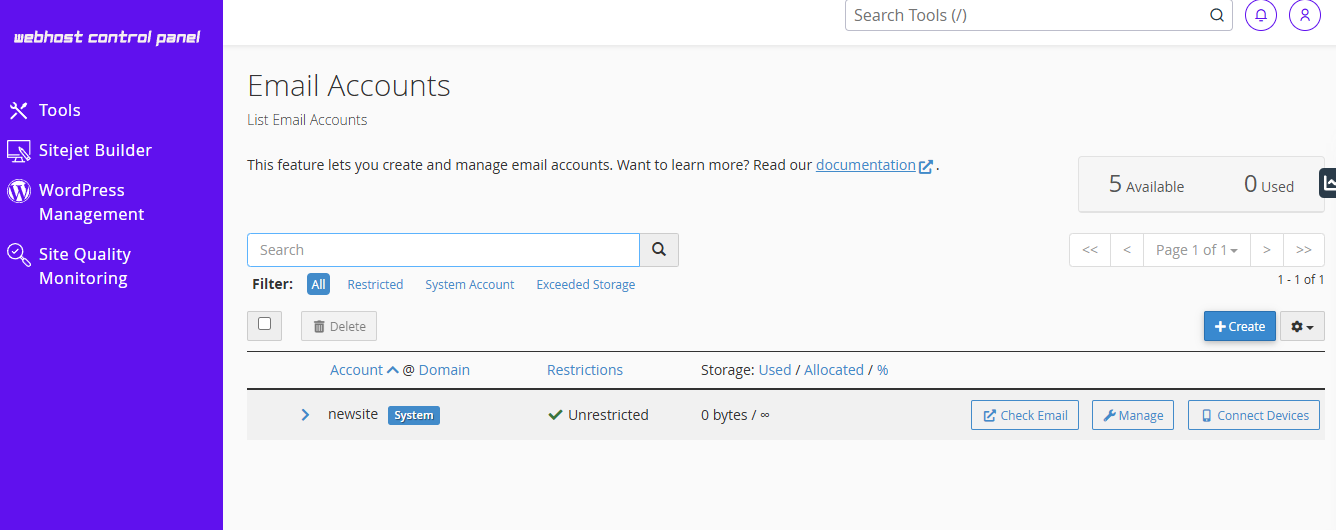
3. Managing Email Accounts
You can:
-
Search and filter your email accounts (e.g., by usage or storage).
-
Access webmail to send and receive emails.
-
Connect devices (like Outlook, Apple Mail, or Thunderbird).
-
View and adjust storage limits.
-
Reset passwords, delete accounts, or change settings.

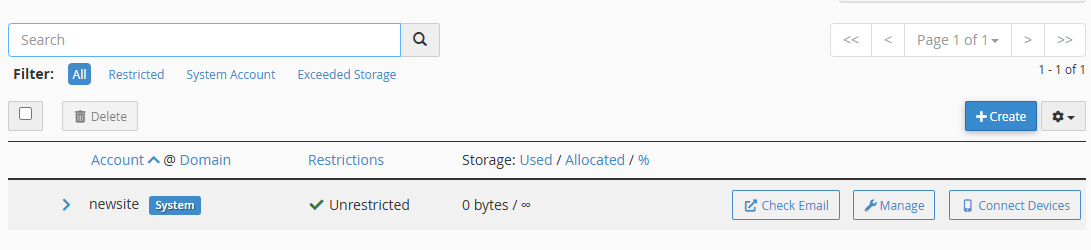
System Email Account
You may see a default system email account tied to your cPanel username. This account is used for server communications and can’t be deleted. It doesn’t use your regular storage quota and shares the same login as your cPanel.
4. Managing Website Files
cPanel includes a powerful File Manager, allowing you to manage your website files directly from your browser—no extra software needed.
Using File Manager
-
Go to File Manager in your cPanel dashboard.

-
Inside the public_html folder, you’ll find the main files for your website.
-
You can:
-
Upload new files (HTML, images, scripts, etc.)
-
Edit, rename, move, or delete files
-
Create new folders
-
Change file permissions
-
View file details (size, last modified, type)
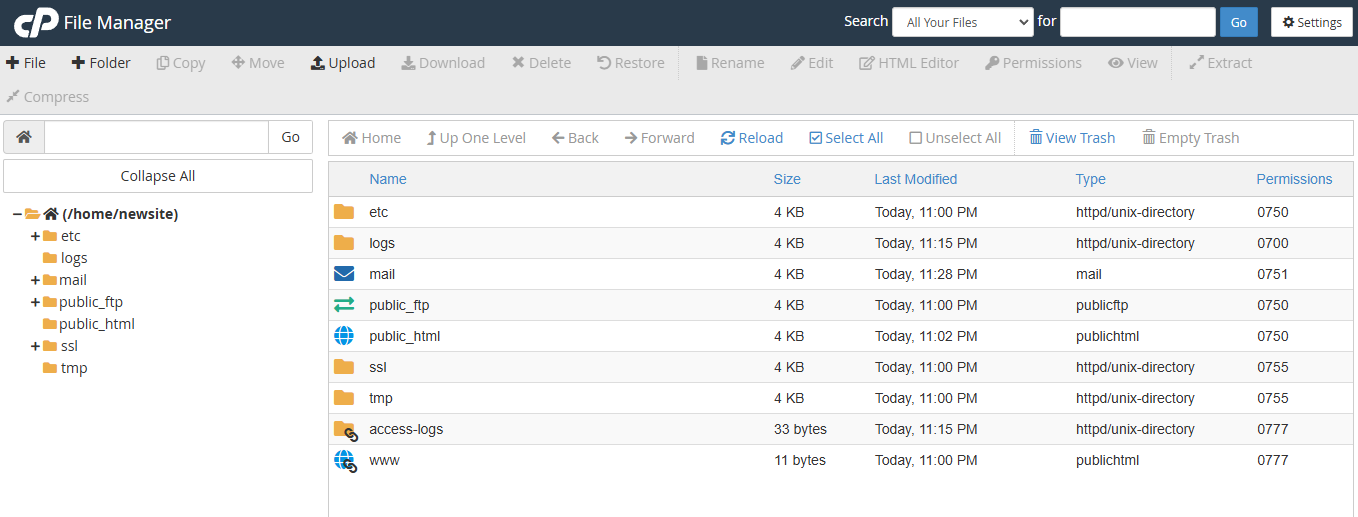
-

This is especially useful if you're managing your website manually or want to make quick updates.
5. Backing Up & Restoring Your Website
Keeping a backup of your website is essential in case of accidental deletion, updates gone wrong, or server issues.
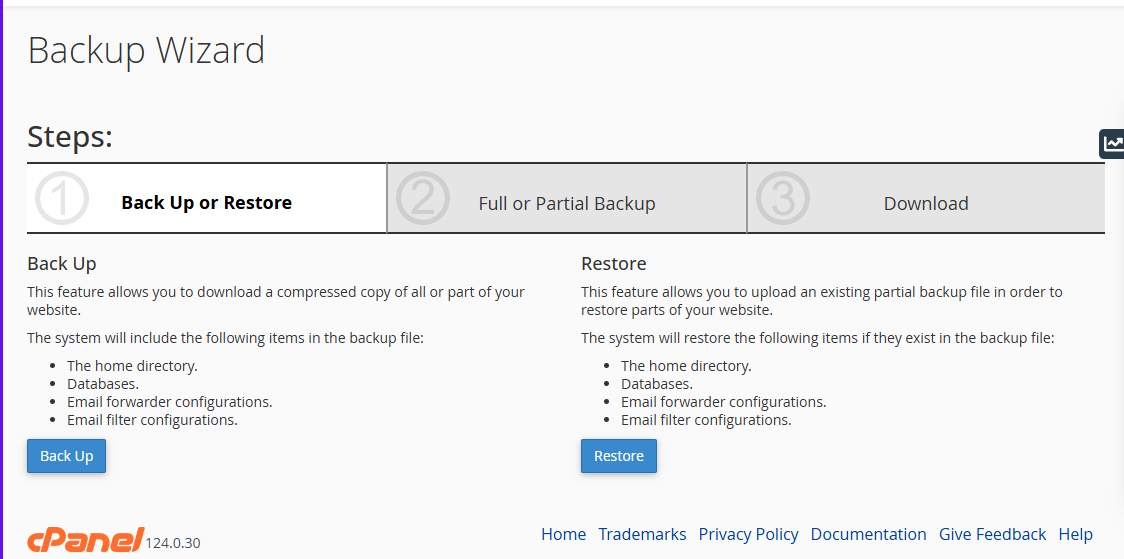
a. Backup Wizard
The Backup Wizard helps you create and restore backups easily.
You can:
-
Download a full backup (everything in your account)
-
Download partial backups of:
-
Home Directory
-
Databases
-
Email settings
-
-
Restore partial backups (upload a backup file to recover specific parts of your site)

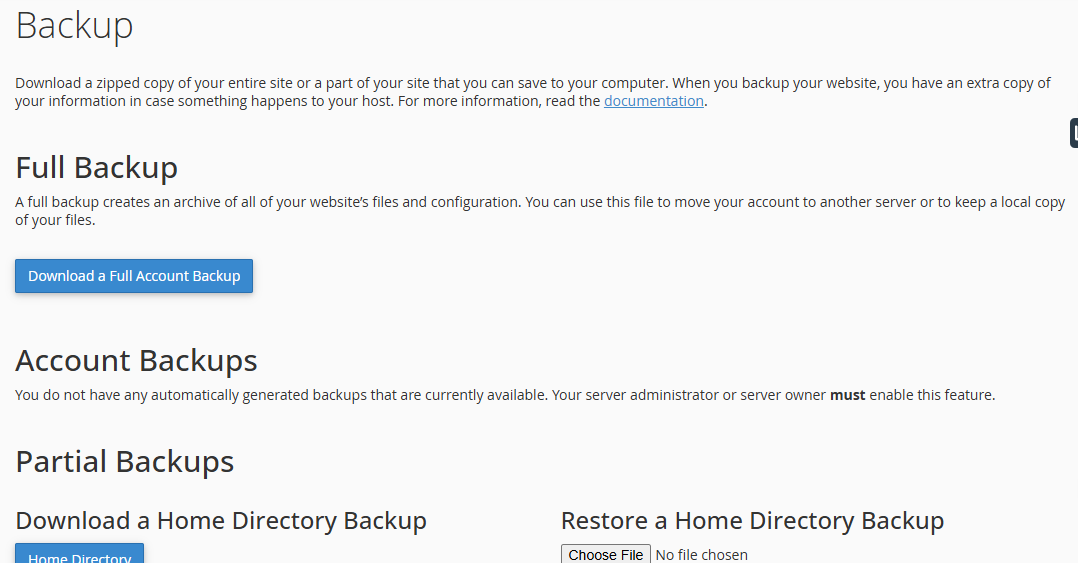
b. Backup Tool
The Backup tool gives you more control if you want to download a complete or partial backup manually.
You can:
-
Download a Full Backup (complete account: site files, databases, email, settings)
-
Download Partial Backups (just specific areas)
-
Create an Account Backup to save configurations and preferences

It’s a good practice to download backups regularly and store them safely.
Tips for a Smooth Hosting Experience
-
Always keep backups of your site before making major changes.
-
Regularly check email storage and clean up old messages.
-
Use secure passwords for all email and cPanel accounts.
-
Install a free SSL certificate via cPanel for secure HTTPS access.
-
Use cron jobs only if you're familiar with automated tasks and scripting.
You're Ready to Go!
Now that you know how to access cPanel and manage essential features, you're fully equipped to take control of your website. Whether you're creating a simple blog, launching a business, or building something more complex—everything you need is right at your fingertips.
Would you like this turned into a branded PDF, with screenshots and formatting? I can prepare that too.